アルミニウム ドア are モダンな entry そして interior ソリューション made から lightweight, corrosion-resistant aluminum, designed に offer 強さ without bulk.
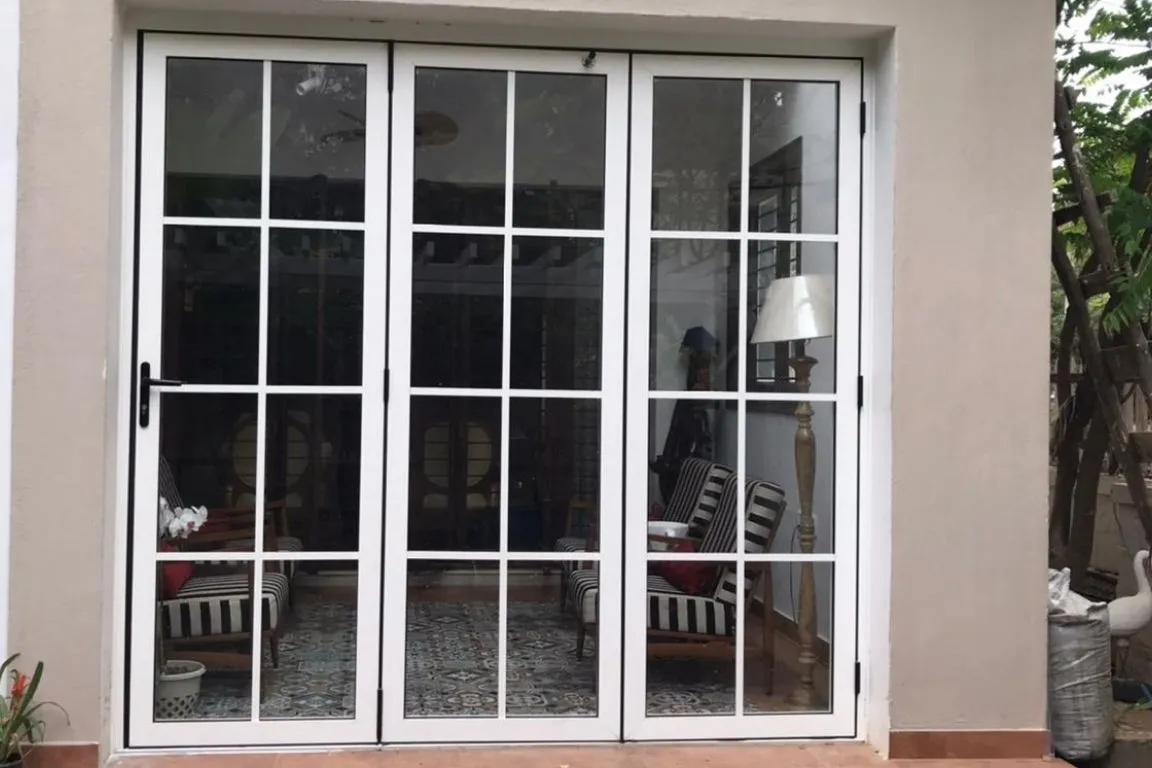
彼らは a favorite for 住宅所有者 そして builders alike thanks に their 耐久性, 洗練された 美学, energy efficiency, そして minimal メンテナンス ニーズ。
と these advantages, it’s no surprise アルミニウム ドア are becoming more popular で both 居住の そして コマーシャル buildings.
Tools そして 材料 You’ll Need
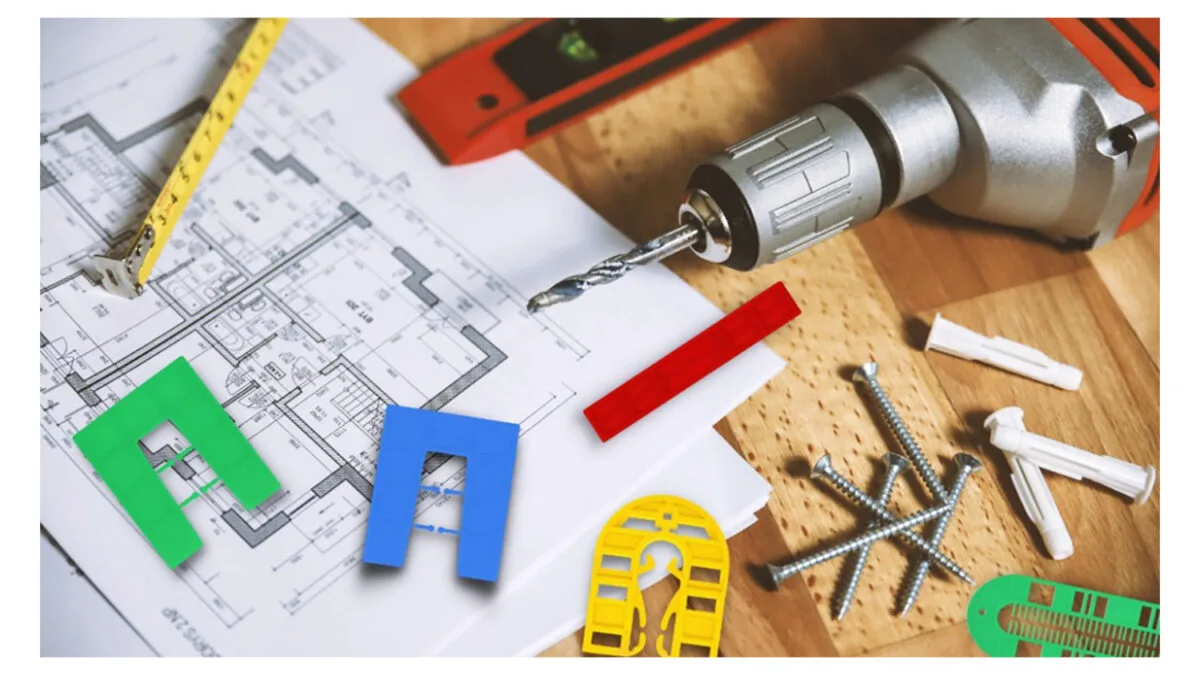
Drill/driver, ドライバー, wrench, measuring tape, level
Door フレーム, ヒンジ, ファスナー, シリコーン シーラント
手袋, 安全性 glasses, earplugs
(Optional): Shim kit, expanding foam, ウェザーストリップ
インストール前の準備

Before jumping into installation, it’s important に prepare your space properly に avoid issues later on. Start by measuring the height, width, そして depth の the opening—make sure there’s at least 20mm の clearance around the ドア フレーム for a proper fit.
Next, clear out any debris, old hardware, または 損傷した materials. もし there’s an existing door, remove it carefully そして ensure the wall surface is clean そして level.
Lastly, check if the opening is plumb, square, そして straight—this helps ensure the アルミニウム ドア sits perfectly without ギャップ または misalignment. Getting these steps right saves time そして frustration down the line.
Step-by-Step インストール Process
インストール an アルミニウム ドア might seem intimidating, but と the right steps そして a little patience, you can get it done confidently. Let’s walk through it together:
Step 1: Assemble the Door フレーム
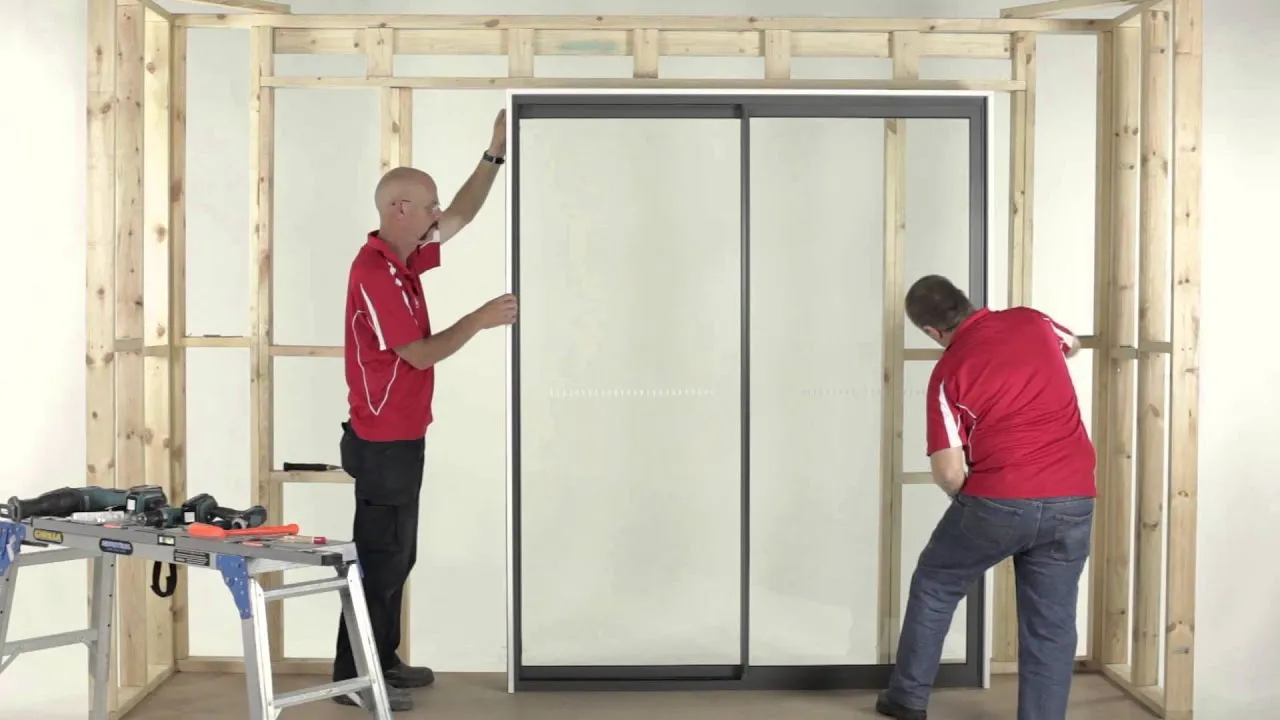
Mark the hinge そして screw locations on the フレーム for accurate fitting.
Temporarily attach the ヒンジ そして install the ハンドル または lockset に check alignment と the ドア leaf.
Step 2: Install そして レベル the フレーム

Place the フレーム into the ドア opening そして use a level に ensure it’s plumb そして even.
追加 シム as needed そして secure it と screws—tightening only after everything is properly aligned.
Step 3: Insert the Door Panel

Position the ドア panel into the フレーム そして attach it に the ヒンジ と screws.
Adjust screw 張力 so the ドア opens smoothly そして check that spacing is even on all sides.
Step 4: シール そして Weatherproof

Apply シーラント または spray foam に fill any ギャップ between the フレーム そして wall.
Then add ウェザーストリップ そして install a 底 sweep に protect against 下書き そして moisture.
Step 5: Final Adjustments そして Lock インストール

Install the ロック そして test the latch に ensure everything works correctly.
Make final hinge adjustments if needed so the ドア swings そして closes without sticking.
Post-Installation Tips

Now that your アルミニウム ドア is installed, a little upkeep goes a long way で keeping it で top shape. Start by lubricating the ヒンジ そして ローラー every 6 months に keep things moving smoothly.
その also a good idea に check the ウェザーストリップ regularly—replacing it if it starts に peel または crack. Clean the ドア と mild soap そして water に keep it looking fresh without damaging the finish.
Don’t forget に inspect for loose ネジ または worn-out ハードウェア, especially around the ヒンジ そして lock. And for extra protection, install a ドア stop に avoid accidental ダメージ から slamming または 強い winds.
よくある質問 About アルミニウム Door インストール
1. Can I install an アルミニウム ドア by myself?
はい、 you can if you’re confident using tools そして following instructions—but hiring a pro is safer for large または tricky installs.
2. Do アルミニウム ドア need special screws?
はい、 it’s best に use stainless 鋼鉄 または self-tapping ネジ に avoid 腐食 そして ensure a secure hold で アルミニウム frames.
3. Are アルミニウム ドア energy efficient?
Absolutely—モダンな アルミニウム ドア と proper seals そして thermal breaks help reduce heat loss そして improve insulation.
4. How long do アルミニウム ドア last?
と basic maintenance, アルミニウム ドア typically last 20 に 30 years または even longer, making them a smart long-term choice.
結論

インストール an アルミニウム ドア is a smart upgrade that combines strength, style, そして efficiency. と the right tools そして steps, you can achieve a secure fit そして long-lasting performance.
Need expert support または 品質 アルミニウム doors? Reach out に our team for guidance, カスタム options, そして smooth インストール service.



![gray door with silver handle sign that says no - Are Aluminum Doors Better Than Upvc? [11月 2025] - APRO 灰色のドアに銀色の取っ手と「No」のサイン](https://aprowin.com/wp-content/uploads/2024/09/gray-door-with-silver-handle-sign-that-says-no-500x280.webp)
![リビングルームのプールサイドビューに開くガラスのスライドドア - ドアの費用はいくらですか? ドアの取り付けガイド [2025] - APRO リビングルームのプールサイドの景色が見えるガラスの引き戸](https://aprowin.com/wp-content/uploads/2024/11/Sliding-glass-doors-opening-to-a-poolside-view-in-a-living-room-500x328.webp)
![バルコニーに続くガラスの引き戸のあるリビングルーム - 標準ドアのサイズ:住宅所有者のための必須ガイド [2025] - APRO バルコニーに続くガラスの引き戸のあるリビングルーム](https://aprowin.com/wp-content/uploads/2024/11/Living-room-with-sliding-glass-doors-leading-to-a-balcony-500x333.webp)
![窓とオーバーヘッドドア機構を備えた2つのガレージドア - ガレージドアのスプリングの調整方法:簡単なガイド [2025] - APRO 窓とオーバーヘッドドア機構を備えた2つのガレージドア](https://aprowin.com/wp-content/uploads/2025/02/Two-garage-doors-with-windows-and-overhead-door-mechanism-500x320.webp)
![スライド窓枠に取り付けられたローラーアセンブリ - アルミスライドドアのローラーの交換方法 [2025] - APRO ローラーアセンブリをスライド窓枠に取り付ける](https://aprowin.com/wp-content/uploads/2025/01/Roller-assembly-being-installed-on-a-sliding-window-frame-500x489.webp)
![外装の黒いアルミ製二つ折りドアが部分的に開いている - アルミ製二つ折りドアの調整ガイド | ヒント [ 2025] - APRO 外側の黒いアルミ製二つ折りドアが部分的に開いている](https://aprowin.com/wp-content/uploads/2025/01/Exterior-black-aluminum-bifold-doors-partially-open.webp)
