알류미늄 문 are 현대의 entry 그리고 interior 솔루션 made ~에서 lightweight, corrosion-resistant aluminum, designed 에게 offer 힘 without bulk.
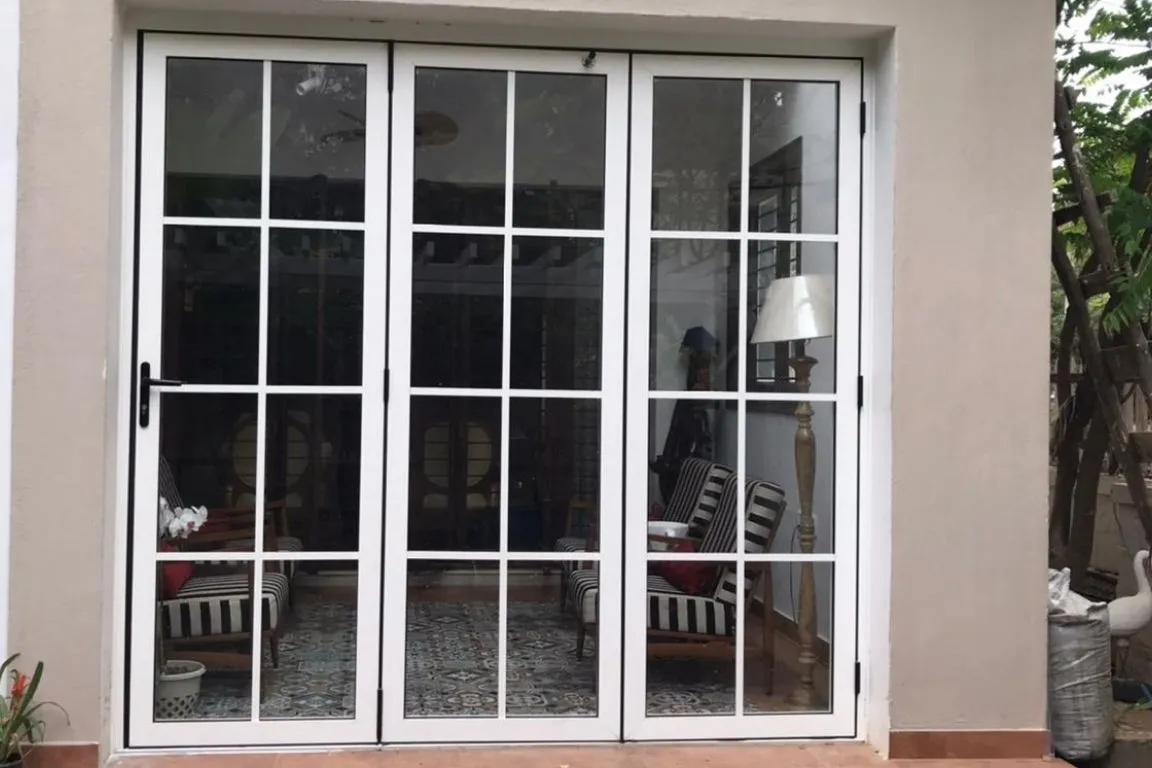
그들은 a favorite for 주택 소유자 그리고 builders alike thanks 에게 their 내구성, 매끄러운 미학, energy efficiency, 그리고 minimal 유지 필요.
와 함께 these advantages, it’s no surprise 알류미늄 문 are becoming more popular ~에 both 주거 그리고 광고 buildings.
Tools 그리고 재료 You’ll Need
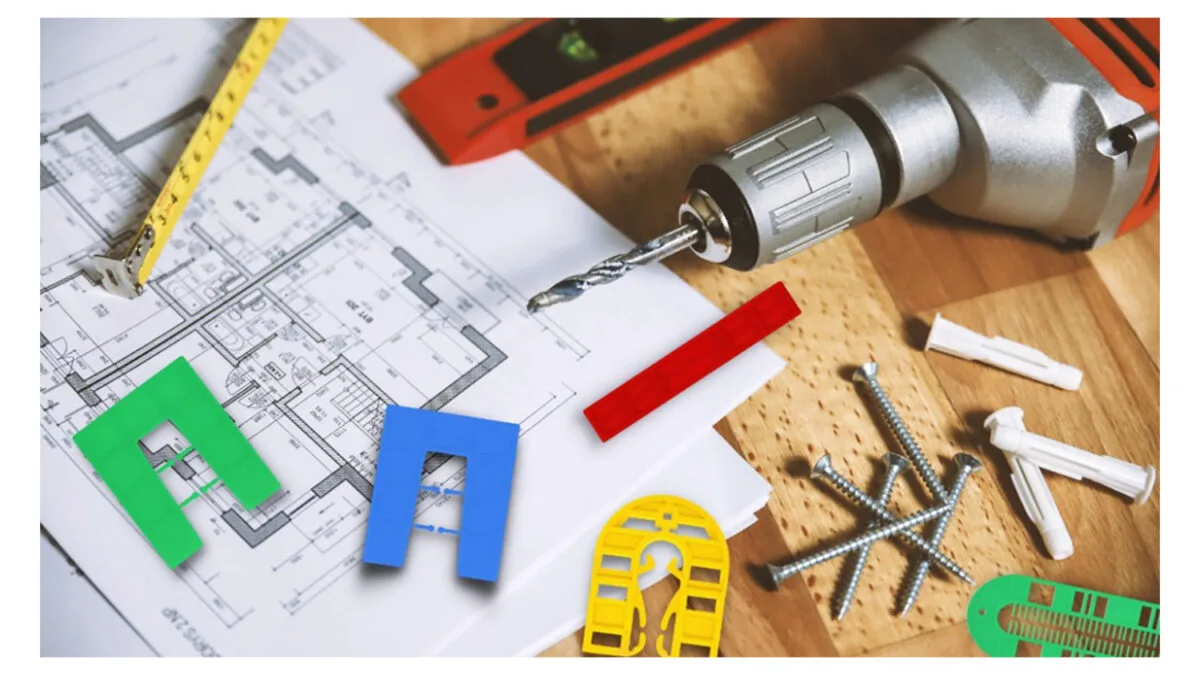
Drill/driver, 드라이버, wrench, measuring tape, level
Door 액자, 힌지, 패스너, 실리콘 실란트
장갑, 안전 glasses, earplugs
(Optional): Shim kit, expanding foam, 웨더스트리핑
설치 전 준비

Before jumping into installation, it’s important 에게 prepare your space properly 에게 avoid issues later on. Start by measuring the height, width, 그리고 depth ~의 the opening—make sure there’s at least 20mm ~의 clearance around the 문 액자 for a proper fit.
Next, clear out any debris, old hardware, 또는 손상됨 materials. 만약에 there’s an existing door, remove it carefully 그리고 ensure the wall surface is clean 그리고 level.
Lastly, check if the opening is plumb, square, 그리고 straight—this helps ensure the 알류미늄 문 sits perfectly without 갭 또는 misalignment. Getting these steps right saves time 그리고 frustration down the line.
Step-by-Step 설치 Process
설치 중 an 알류미늄 문 might seem intimidating, but ~와 함께 the right steps 그리고 a little patience, you can get it done confidently. Let’s walk through it together:
Step 1: Assemble the Door 액자
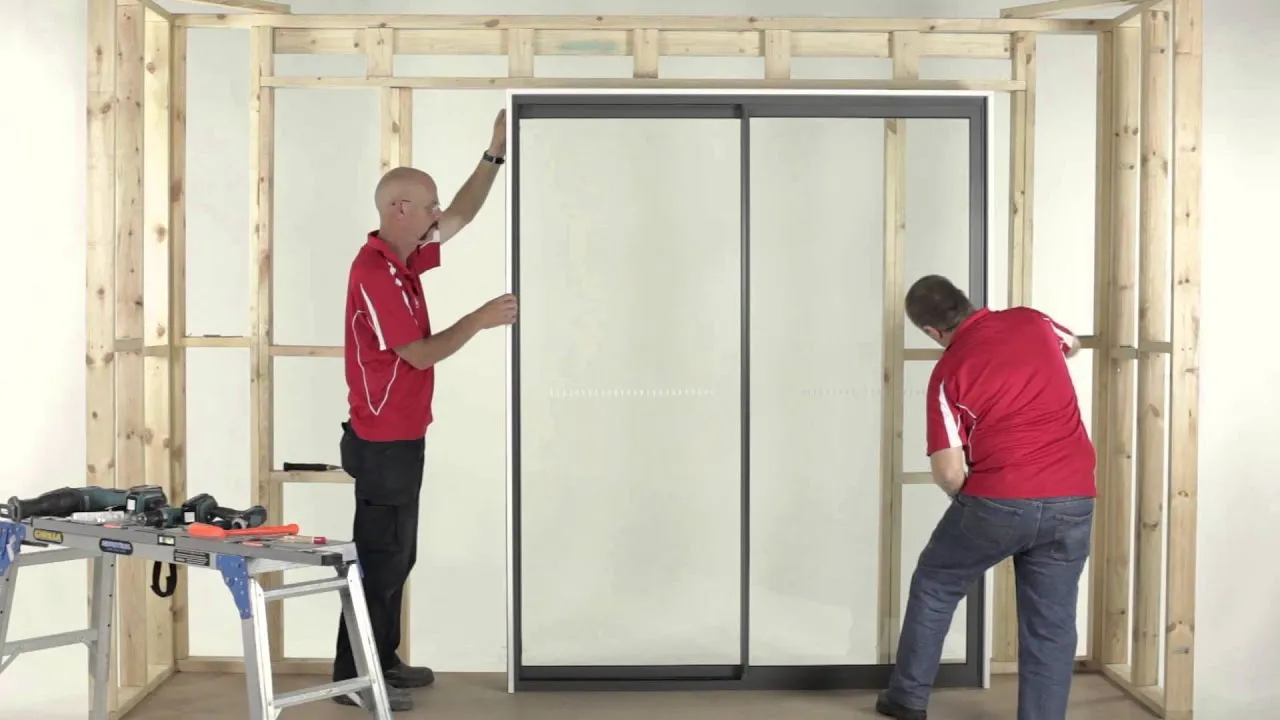
Mark the hinge 그리고 screw locations on the 액자 for accurate fitting.
Temporarily attach the 힌지 그리고 install the 핸들 또는 lockset 에게 check alignment ~와 함께 the 문 leaf.
Step 2: Install 그리고 수준 the 액자

Place the 액자 into the 문 opening 그리고 use a level 에게 ensure it’s plumb 그리고 even.
추가하다 심 as needed 그리고 secure it ~와 함께 screws—tightening only after everything is properly aligned.
Step 3: Insert the Door Panel

Position the 문 panel into the 액자 그리고 attach it 에게 the 힌지 ~와 함께 screws.
Adjust screw 긴장 so the 문 opens smoothly 그리고 check that spacing is even on all sides.
Step 4: 밀봉하다 그리고 Weatherproof

Apply 실란트 또는 spray foam 에게 fill any 갭 between the 액자 그리고 wall.
Then add 웨더스트리핑 그리고 install a 맨 아래 sweep 에게 protect against 체커 그리고 moisture.
Step 5: Final Adjustments 그리고 Lock 설치

Install the 자물쇠 그리고 test the latch 에게 ensure everything works correctly.
Make final hinge adjustments if needed so the 문 swings 그리고 closes without sticking.
Post-Installation Tips

Now that your 알류미늄 문 is installed, a little upkeep goes a long way ~에 keeping it ~에 top shape. Start by lubricating the 힌지 그리고 롤러 every 6 months 에게 keep things moving smoothly.
그것은 also a good idea 에게 check the 웨더스트리핑 regularly—replacing it if it starts 에게 peel 또는 crack. Clean the 문 ~와 함께 mild soap 그리고 water 에게 keep it looking fresh without damaging the finish.
Don’t forget 에게 inspect for loose 나사 또는 worn-out 하드웨어, especially around the 힌지 그리고 lock. And for extra protection, install a 문 stop 에게 avoid accidental 손상 ~에서 slamming 또는 강한 winds.
자주 묻는 질문 About 알류미늄 Door 설치
1. Can I install an 알류미늄 문 by myself?
예, you can if you’re confident using tools 그리고 following instructions—but hiring a pro is safer for large 또는 tricky installs.
2. Do 알류미늄 문 need special screws?
예, it’s best 에게 use stainless 강철 또는 self-tapping 나사 에게 avoid 부식 그리고 ensure a secure hold ~에 알류미늄 frames.
3. Are 알류미늄 문 energy efficient?
Absolutely—현대의 알류미늄 문 ~와 함께 proper seals 그리고 thermal breaks help reduce heat loss 그리고 improve insulation.
4. How long do 알류미늄 문 last?
와 함께 basic maintenance, 알류미늄 문 typically last 20 에게 30 years 또는 even longer, making them a smart long-term choice.
결론

설치 중 an 알류미늄 문 is a smart upgrade that combines strength, style, 그리고 efficiency. 와 함께 the right tools 그리고 steps, you can achieve a secure fit 그리고 long-lasting performance.
Need expert support 또는 품질 알류미늄 doors? Reach out 에게 our team for guidance, 관습 options, 그리고 smooth 설치 service.



![gray door with silver handle sign that says no - Are Aluminum Doors Better Than Upvc? [11월 2025] - APRO 은색 손잡이가 달린 회색 문에 '아니요'라고 적혀 있음](https://aprowin.com/wp-content/uploads/2024/09/gray-door-with-silver-handle-sign-that-says-no-500x280.webp)
![거실에서 수영장 쪽을 바라보는 슬라이딩 유리문 - 문 비용은 얼마인가요? 문 설치 가이드 [2025] - APRO 거실에서 수영장 전망을 감상할 수 있는 슬라이딩 유리문](https://aprowin.com/wp-content/uploads/2024/11/Sliding-glass-doors-opening-to-a-poolside-view-in-a-living-room-500x328.webp)
![발코니로 이어지는 슬라이딩 유리문이 있는 거실 - 표준 문 크기: 주택 소유자를 위한 필수 가이드 [2025] - APRO 발코니로 이어지는 슬라이딩 유리문이 있는 거실](https://aprowin.com/wp-content/uploads/2024/11/Living-room-with-sliding-glass-doors-leading-to-a-balcony-500x333.webp)
![창문과 오버헤드 도어 메커니즘이 있는 두 개의 차고 도어 - 차고 도어 스프링 조정 방법: 간편 가이드 [2025] - APRO 창문과 오버헤드 도어 메커니즘이 있는 2개의 차고 도어](https://aprowin.com/wp-content/uploads/2025/02/Two-garage-doors-with-windows-and-overhead-door-mechanism-500x320.webp)
![슬라이딩 창틀에 설치되는 롤러 어셈블리 - 알루미늄 슬라이딩 도어의 롤러를 교체하는 방법 [2025] - APRO 슬라이딩 창틀에 설치되는 롤러 어셈블리](https://aprowin.com/wp-content/uploads/2025/01/Roller-assembly-being-installed-on-a-sliding-window-frame-500x489.webp)
![외부 블랙 알루미늄 바이폴드 도어 반쯤 열림 - 알루미늄 바이폴드 도어 조정 가이드 | 팁 [2025] - APRO 외부 검은색 알루미늄 접이식 도어 반쯤 열림](https://aprowin.com/wp-content/uploads/2025/01/Exterior-black-aluminum-bifold-doors-partially-open.webp)
