알루미늄 도어 are known for their strength and modern look, but over time, their finish can fade, chip, or just lose its charm. Whether it’s from years of sun exposure or you’re simply ready for a style update, repainting your aluminum door is a smart way to refresh your entryway. A fresh coat of paint doesn’t just boost your 연석 호소력—it also adds a layer of 보호 against rust, weather, and daily wear.
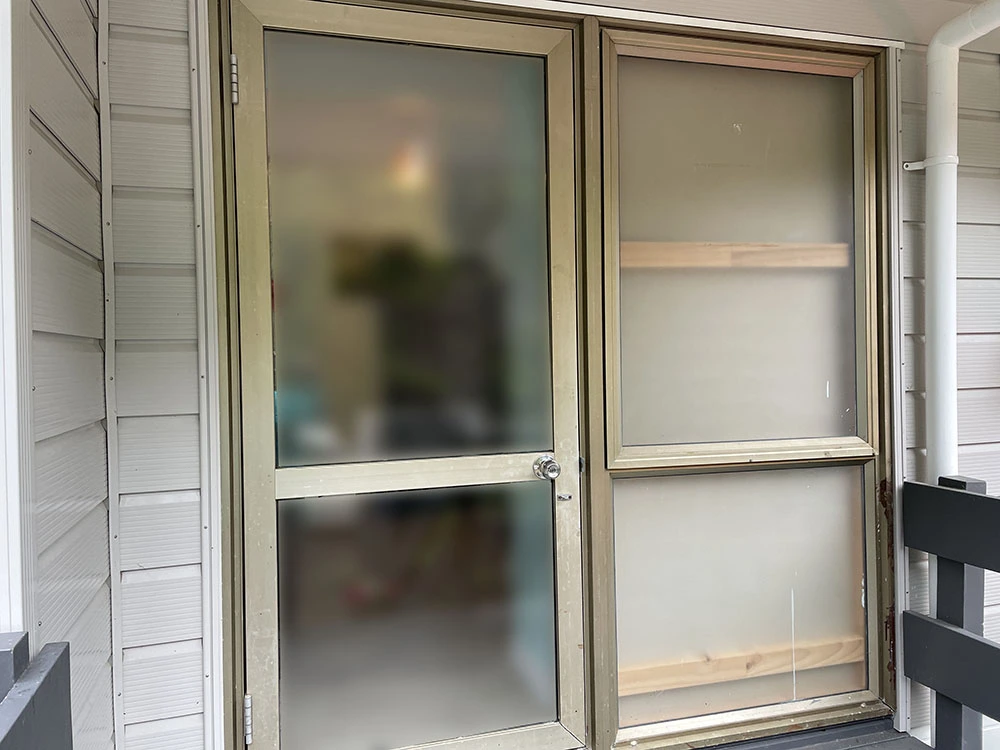
The best part? You don’t need to replace the door or hire a professional. With the right prep, tools, and paint, giving your aluminum door a makeover can be a simple and satisfying DIY project. Let’s walk through how to do it right—from cleaning to finishing—so you get smooth, lasting results.
Tools and Materials Checklist
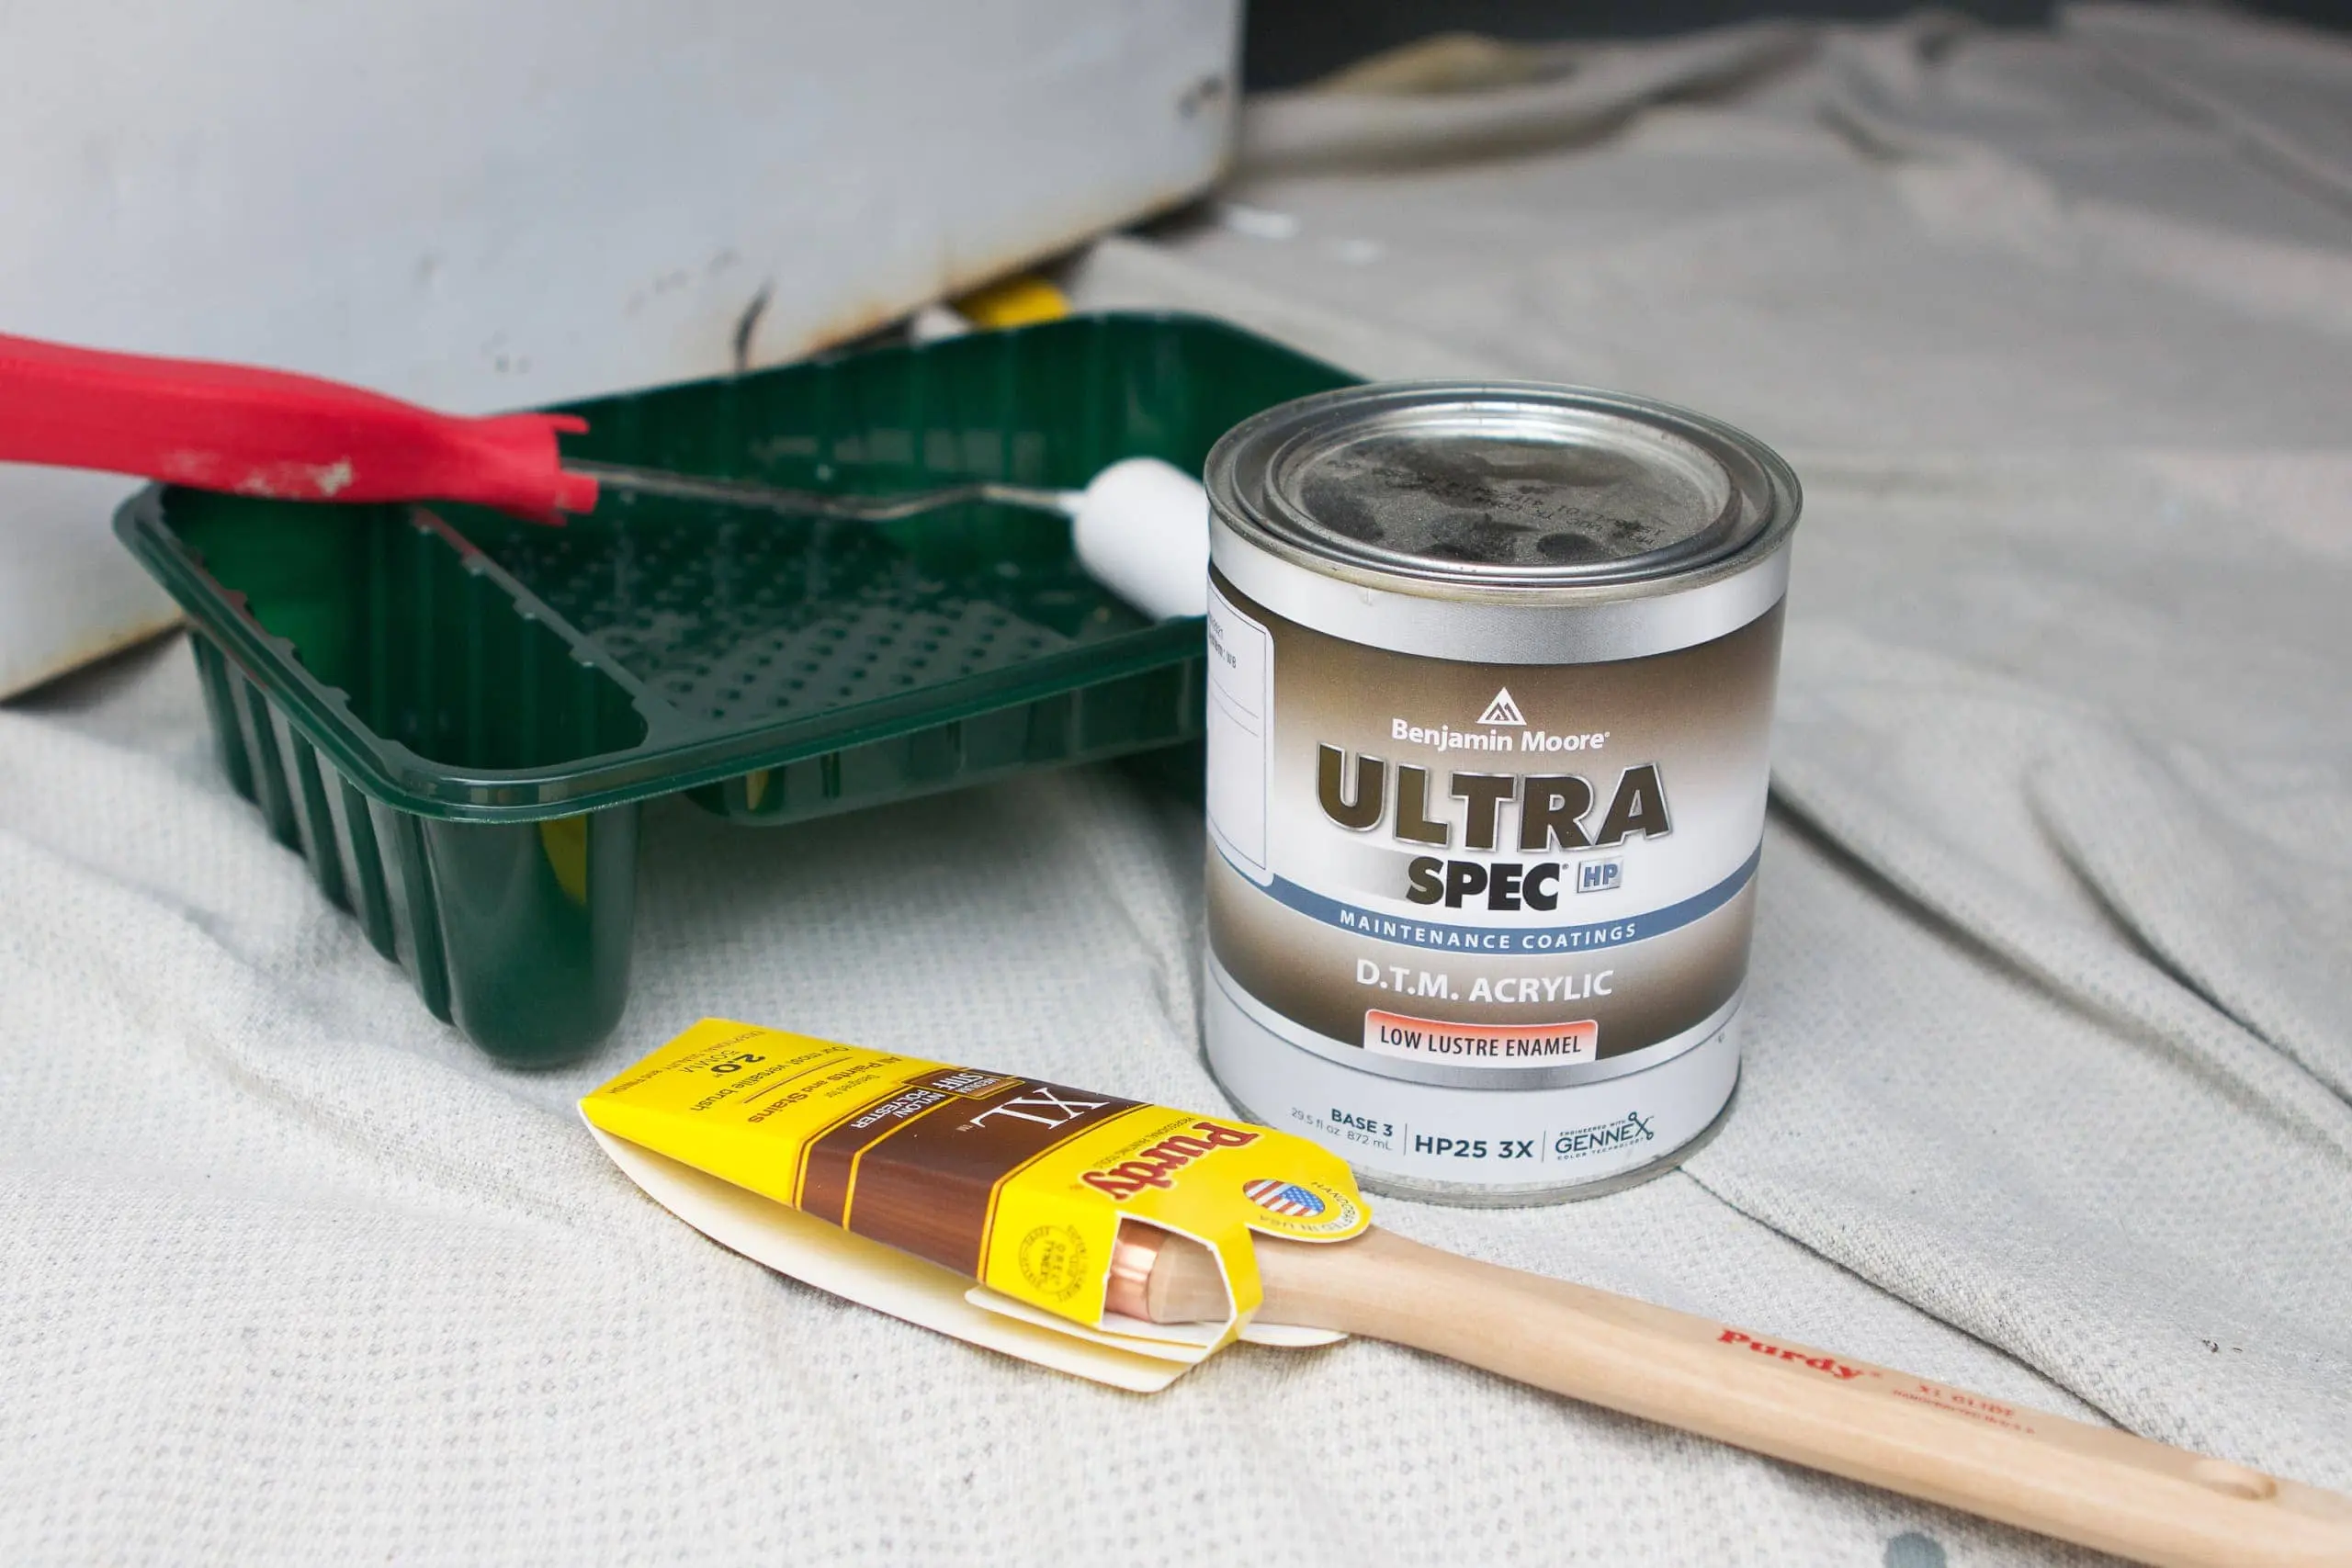
Before you start painting your aluminum door, make sure you’ve got everything ready. Here’s what you’ll need for a smooth, durable finish:
Cleaning supplies (soapy water, TSP, or substitute)
사포 or Scotch-Brite pad
Painter’s tape and masking paper/newspaper
Etch primer 또는 direct-to-metal (DTM) primer
Exterior paint (아크릴, 에폭시, 또는 oil-based)
Foam roller, brush, or spray can
Optional: clear sealant for extra protection
알루미늄 도어 페인팅을 위한 단계별 가이드
Giving your aluminum door a fresh new look is easier than you might think. Just follow these steps carefully for a clean, lasting finish.
1. Clean the Door Thoroughly
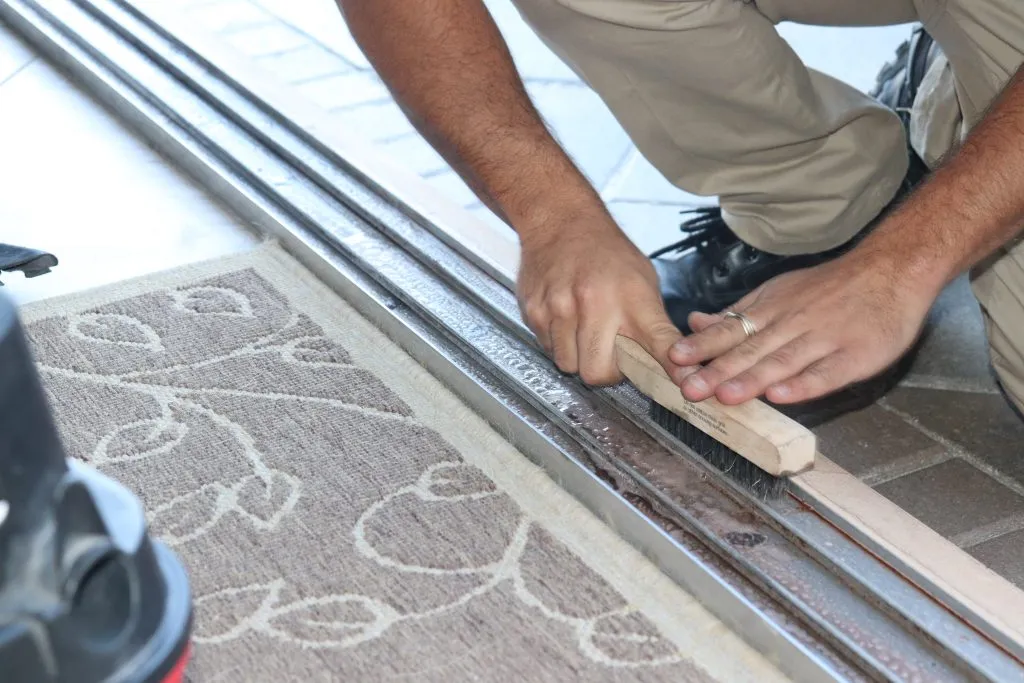
Start with a deep clean using soapy water 또는 TSP to remove dirt, grease, and grime. For any rust spots or paint splashes, use a Scotch-Brite pad or light sandpaper. Rinse well and let the surface dry completely—this step is key to good paint adhesion.
2. Remove or Mask Hardware and Glass
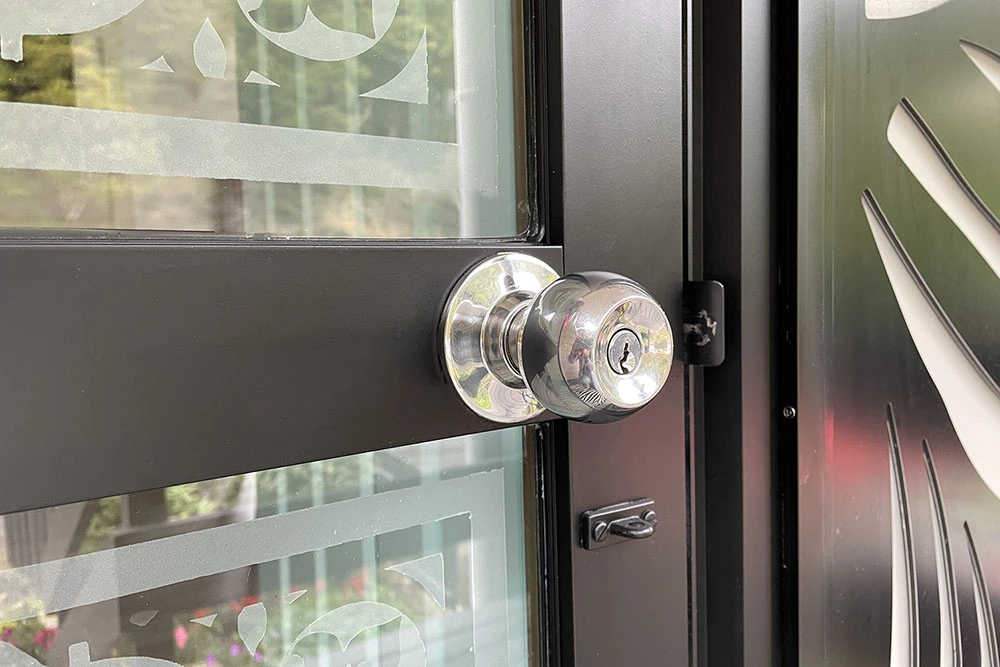
Unscrew 손잡이, locks, and mail slots if possible. Cover any glass or wall edges with painter’s tape and newspaper. A clever trick? Slip a latex glove over the handle and tape it off—it gives clean paint edges without the hassle.
3. Sand and Prep the Surface
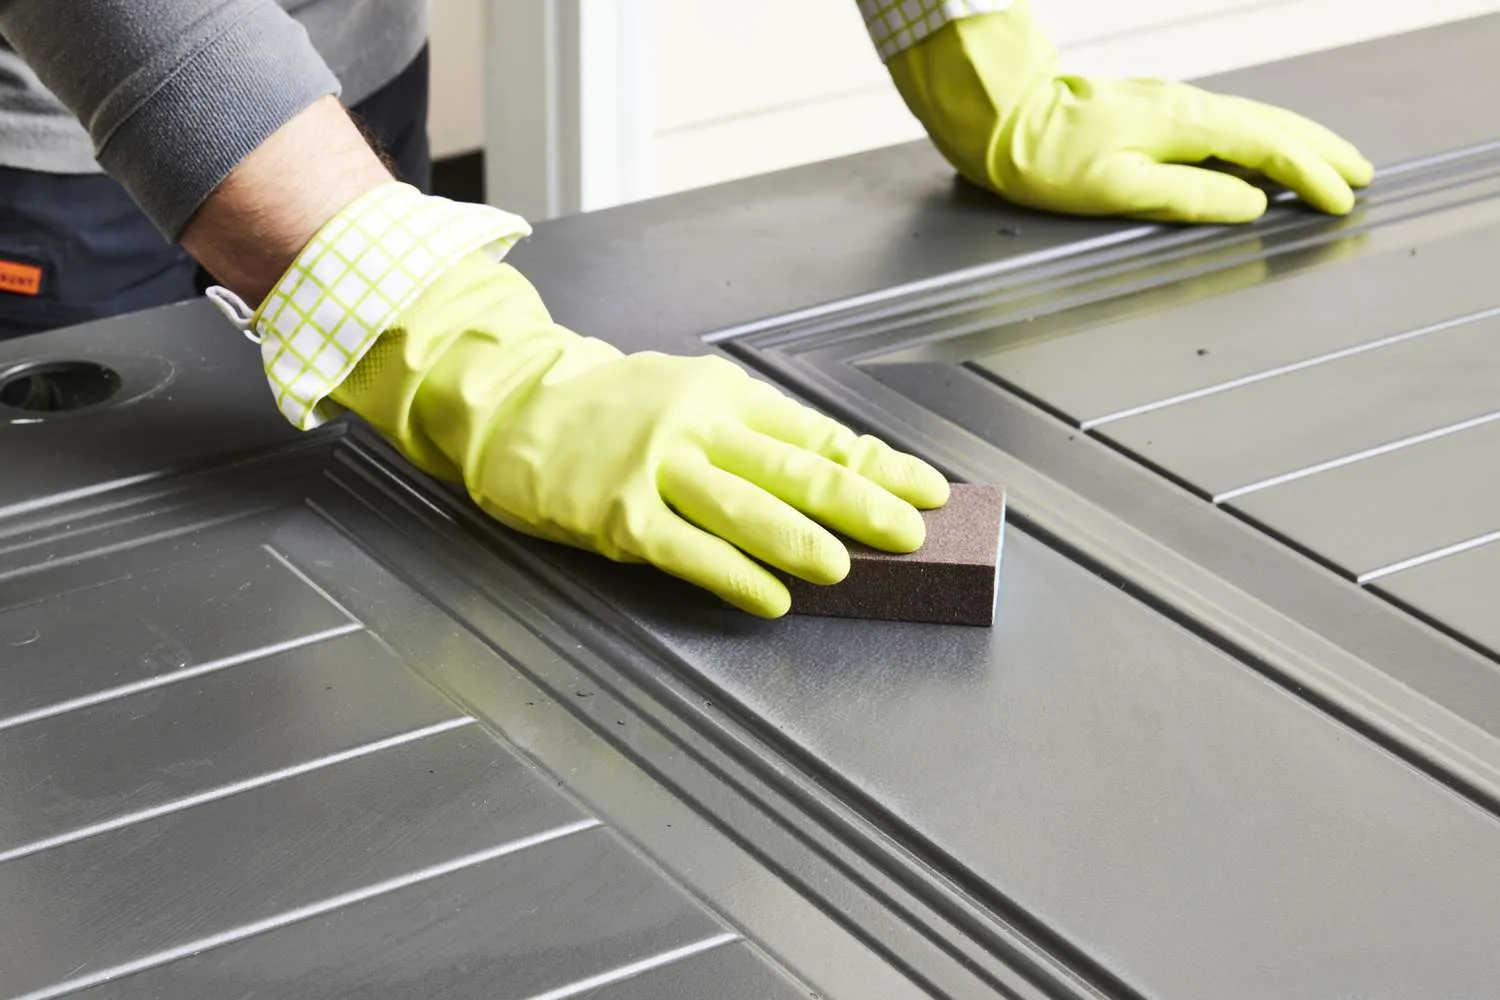
If the door has a glossy 또는 powder-coated finish, gently sand it with fine-grit sandpaper to help the primer grip. Don’t overdo it—just enough to dull the sheen. Wipe away dust with a clean cloth.
4. Apply Metal Primer
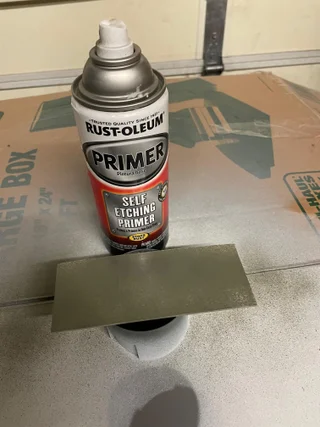
Use a quality etching primer 또는 DTM (direct-to-metal) primer for a strong bond. Spray or brush it on in thin, even coats. One or two coats usually do the trick. Be patient and allow each coat to fully dry.
5. Paint the Door
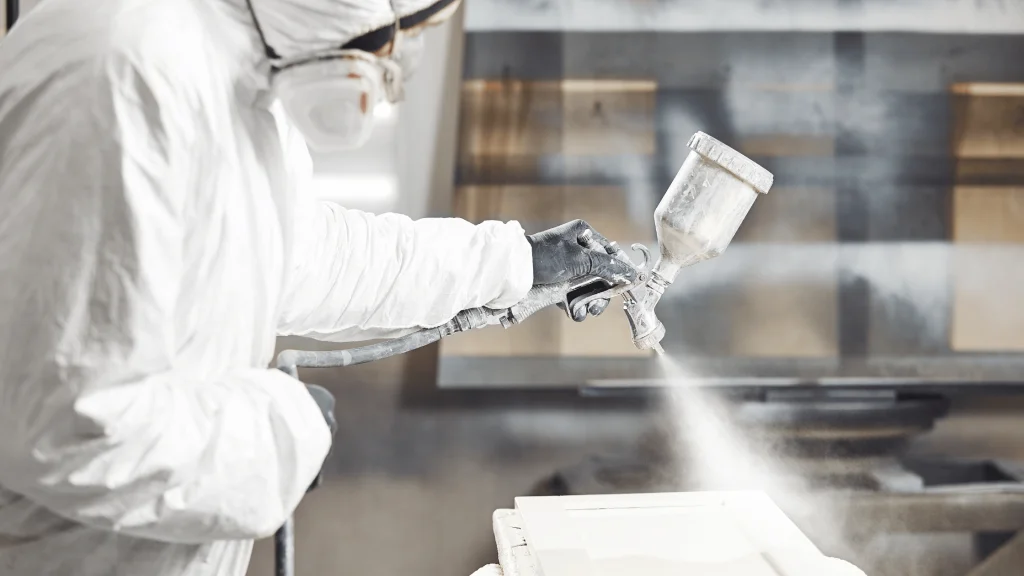
Now for the fun part—painting! Choose 아크릴 또는 epoxy-based paint for aluminum surfaces. Apply with a foam roller 또는 spray can in multiple thin layers. If spraying, use short bursts to prevent drips and get a smooth, even finish.
6. Let It Dry & Apply Additional Coats
Wait at least 2–6 hours between coats or follow the paint manufacturer’s instructions. Apply 2–3 coats for best coverage. Avoid thick coats—they can lead to runs and uneven gloss.
7. Optional: Apply Clear Protective Sealant
![]()
Want extra protection from 자외선, moisture, and scratches? A clear sealant designed for metal surfaces will lock in your color and keep it looking fresh longer.
8. Unmask and Reinstall Hardware
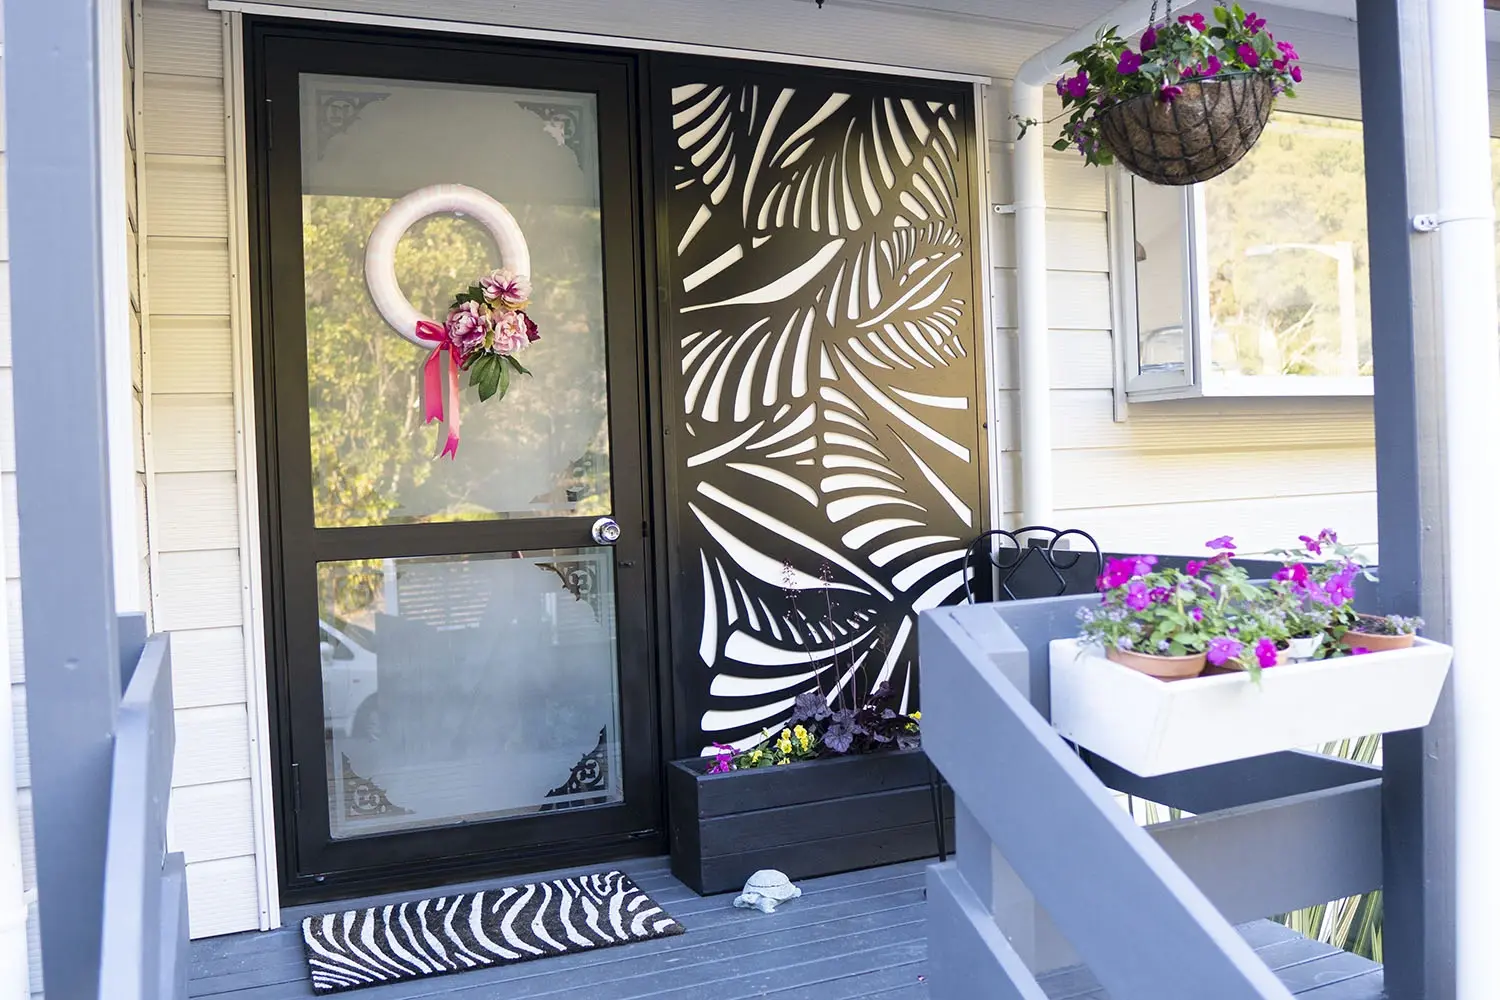
Remove masking tape while the paint is still slightly tacky—this gives cleaner edges. Once the paint is fully cured (12–24 hours), reinstall all hardware and enjoy your door’s fresh new look!
FAQs: How to Paint an Aluminum Door
1. What kind of paint should I use on an aluminum door?
사용 acrylic latex, 에폭시, 또는 oil-based exterior paint that’s labeled for metal surfaces. For best results, pair it with an etching or DTM primer.
2. How long does it take for the paint to dry?
Each coat typically takes 2–6 hours to dry, depending on the product and weather. Full curing can take up to 24 hours before reattaching hardware.
3. Is a topcoat or sealant necessary?
It’s optional but highly recommended for 외부 문. A clear sealant adds durability against UV rays, moisture, and daily wear.
결론
Painting your aluminum door is an easy way to boost curb appeal, protect against the elements, and refresh your home’s style. With the right prep, tools, and paint, you can achieve a smooth, long-lasting finish—all without hiring a pro.
Ready to give your door a new look? Grab your supplies and follow our step-by-step guide for a clean, professional result. Don’t forget to share your transformation or reach out if you have questions!




![gray door with silver handle sign that says no - Are Aluminum Doors Better Than Upvc? [11월 2025] - APRO 은색 손잡이가 달린 회색 문에 '아니요'라고 적혀 있음](https://aprowin.com/wp-content/uploads/2024/09/gray-door-with-silver-handle-sign-that-says-no-500x280.webp)
![거실에서 수영장 쪽을 바라보는 슬라이딩 유리문 - 문 비용은 얼마인가요? 문 설치 가이드 [2025] - APRO 거실에서 수영장 전망을 감상할 수 있는 슬라이딩 유리문](https://aprowin.com/wp-content/uploads/2024/11/Sliding-glass-doors-opening-to-a-poolside-view-in-a-living-room-500x328.webp)
![발코니로 이어지는 슬라이딩 유리문이 있는 거실 - 표준 문 크기: 주택 소유자를 위한 필수 가이드 [2025] - APRO 발코니로 이어지는 슬라이딩 유리문이 있는 거실](https://aprowin.com/wp-content/uploads/2024/11/Living-room-with-sliding-glass-doors-leading-to-a-balcony-500x333.webp)
![창문과 오버헤드 도어 메커니즘이 있는 두 개의 차고 도어 - 차고 도어 스프링 조정 방법: 간편 가이드 [2025] - APRO 창문과 오버헤드 도어 메커니즘이 있는 2개의 차고 도어](https://aprowin.com/wp-content/uploads/2025/02/Two-garage-doors-with-windows-and-overhead-door-mechanism-500x320.webp)
![슬라이딩 창틀에 설치되는 롤러 어셈블리 - 알루미늄 슬라이딩 도어의 롤러를 교체하는 방법 [2025] - APRO 슬라이딩 창틀에 설치되는 롤러 어셈블리](https://aprowin.com/wp-content/uploads/2025/01/Roller-assembly-being-installed-on-a-sliding-window-frame-500x489.webp)
![외부 블랙 알루미늄 바이폴드 도어 반쯤 열림 - 알루미늄 바이폴드 도어 조정 가이드 | 팁 [2025] - APRO 외부 검은색 알루미늄 접이식 도어 반쯤 열림](https://aprowin.com/wp-content/uploads/2025/01/Exterior-black-aluminum-bifold-doors-partially-open.webp)
