
What is a Unitized Curtain Wall? Pros & Cons
Unitized curtain wall guide: meaning, pros/cons, details, performance, install steps, QA/QC, and sourcing checklist—based on APRO factory experience.
 Writen By:
Tiffany
Installing bifold doors can be straightforward if you follow the correct steps.
Here’s a detailed guide to help you complete the process successfully.

Start by measuring the height and width of the door opening. Ensure it matches the dimensions of your bifold doors.
Mark the center point of the opening to guide your installation.
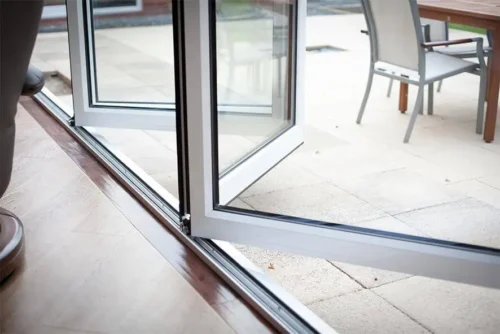
Cut both the top and bottom tracks to fit the opening.
For the top track, align it at the center of the door frame and secure it with screws. Ensure it’s level to avoid any operational issues later on.
For the bottom track, make sure it is flush with the floor and properly aligned with the top track. Secure it in place with screws.

Once the tracks are installed, attach the pivot brackets to the top and bottom corners of the bifold door panels.
These pivots will allow the doors to slide smoothly along the tracks.

Lift the first door panel and insert the top and bottom pivot pins into their respective tracks. Ensure the door fits securely.
Once in place, hang the remaining door panels by repeating the process.

Next, install the hinges between each door panel, ensuring they are evenly spaced. This step helps ensure smooth folding action.
Then, insert guide pins on the side opposite the pivots to keep the door aligned as it slides.
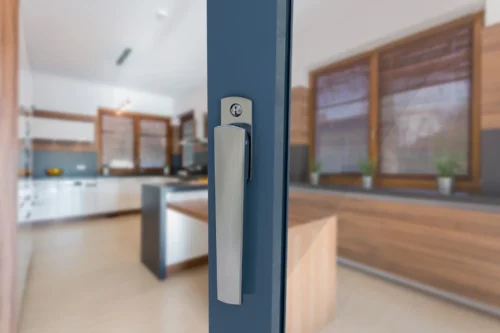
Install the door handles as per the manufacturer’s instructions.
Typically, they are positioned at the center of the leading door for easy access.
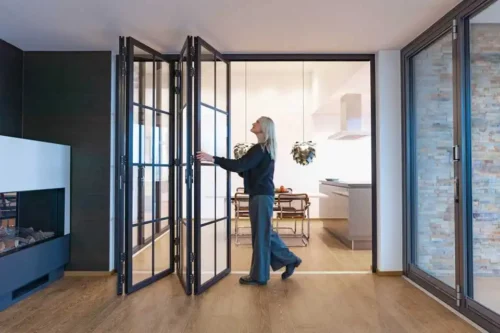
After installation, check the alignment of the doors. Adjust the pivot brackets and hinges as necessary to ensure smooth operation.
Test the doors by opening and closing them multiple times to ensure proper functionality.
By following these steps, you can achieve a successful bifold door installation that ensures functionality, aesthetic appeal, and long-lasting performance.


Unitized curtain wall guide: meaning, pros/cons, details, performance, install steps, QA/QC, and sourcing checklist—based on APRO factory experience.
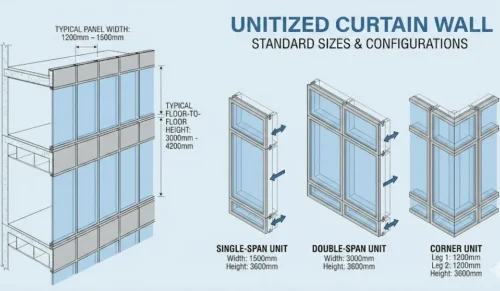
Standard unitized curtain wall sizes explained: module width/height, frame depth, IGU thickness, joint sizing, tolerances, and case-based sizing plans.

Learn curtain wall glass types and uses: IGU vs laminated vs tempered, Low-E benefits, safety needs, and spec tips for projects
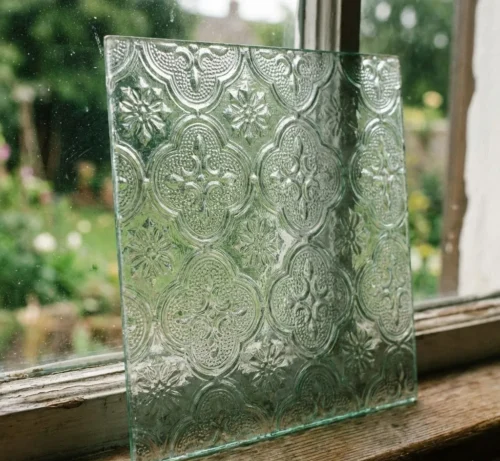
Learn what glass is, how it’s made, and how to choose: tempered, laminated, IGU, Low-E, VLT/SHGC/U-value, plus PO spec tips.

Learn its core definition, key components, performance metrics, drainage/weep details, and how it differs from curtain wall—so you can specify with confidence.
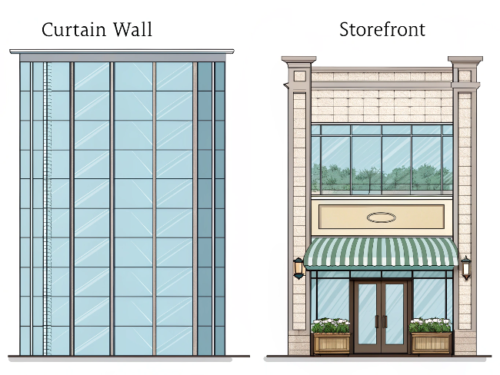
storefront vs window wall explained with clear pros/cons, costs, leak risks, and selection tips—use our decision framework to choose the right system today.
WhatsApp us