Apro logo

How to Install Aluminum Sliding Doors?

Learn how to install aluminum sliding doors with our step-by-step guide, ensuring a perfect fit and smooth operation for your home’s entryway.
Apro / Blog / How to Install Aluminum Sliding Doors?

Table of Contents

Aluminum sliding doors are a great addition to any home. Their sleek modern look and practicality are why they’re becoming a popular choice for homeowners looking to upgrade their living spaces.

In this guide, we’ll take you through installing aluminum sliding doors from start to finish. Before we start, let’s take a quick look at the tools and materials you’ll need. Let’s get started!

Pre-Installation Preparation

Proper preparation is key to a smooth aluminum sliding door installation. Before you even pick up a tool, you need to make sure everything is ready. This means precise measurements, choosing the right door, and gathering all the tools and materials.

Measuring the Opening

Man adjusting door frame for aluminum sliding door installation

The first step in preparing for your installation is to measure the door opening accurately. This is crucial for a proper fit. Here’s how:

  • Measure the Width: Take a tape to measure three measurements across the opening. Take the smallest measurement so the door frame fits properly.
  • Measure the Height: Measure the height of the opening from the floor to the top at three points – left, center, and right. Take the smallest measurement so the door isn’t too tall for the space.
  • Check for Level and Square: Use a level to check the floor and the top of the door opening is level. Measure the diagonals of the opening from corner to corner; if they’re equal the opening is square. If not, you may need to adjust the frame or use shims during installation.

You must be wondering why this step is so important. If the frame is out by even a fraction of a mm, the door won’t slide smoothly. 

Furthermore, you’ll have gaps that let in air or water. This part of the preparation ensures your door will fit and work properly once installed.

Choosing the Door

Open view from a room with aluminum sliding doors to garden

Now that you have your measurements, it’s time to choose the right aluminum sliding door. Any sliding door will fit, right? Well not quite; here is what you would need to consider: 

Size: Make sure the door you buy matches your door opening.  Mostly, sliding doors are available in standard sizes but you can have them custom-made if needed.

Door Weight: Aluminum doors are lighter than wood or steel but come in different thicknesses and glazing options. Make sure the weight is compatible with the track system you’re installing.

Glass Type: If your door has glass panels, consider the type of glazing. Double or triple glazing is better for insulation, and tinted or frosted glass is better for privacy. The type of glass also affects the weight of the door, so be mindful of that when choosing.

Choosing the right door means not only a better fit but also better energy efficiency and longevity. Make sure it matches your space and meets your functional requirements – insulation and security.

Get Your Tools and Materials

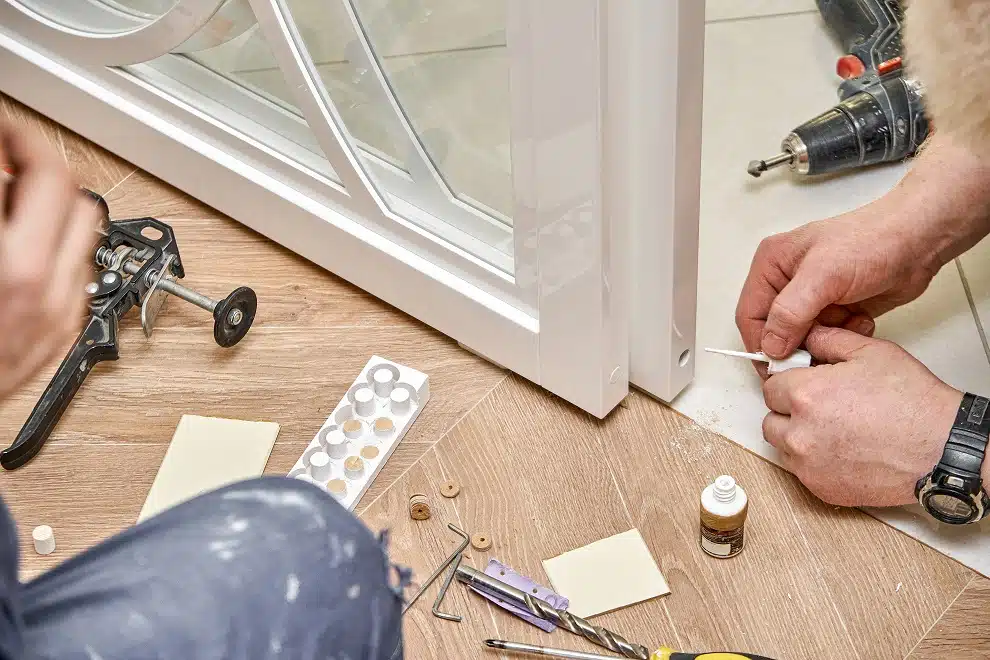
Applying weatherproof tape to door sill for sliding door setup

Now that you have your measurements and door selected, it’s time to get all your tools and materials. Having everything ready to go before you start will make the process much easier.

Tools:

  • Measuring tape
  • Level (to make sure everything is level)
  • Screwdriver or drill with bits
  • Shims (for the door frame)
  • Silicone sealant (for the frame)
  • Screws and anchors (for aluminum frames)
  • Utility knife or saw (if you need to trim anything)
  • Safety gear: gloves, safety glasses, and a dust mask

Materials:

  • Aluminum sliding door and frame
  • Sliding door track system
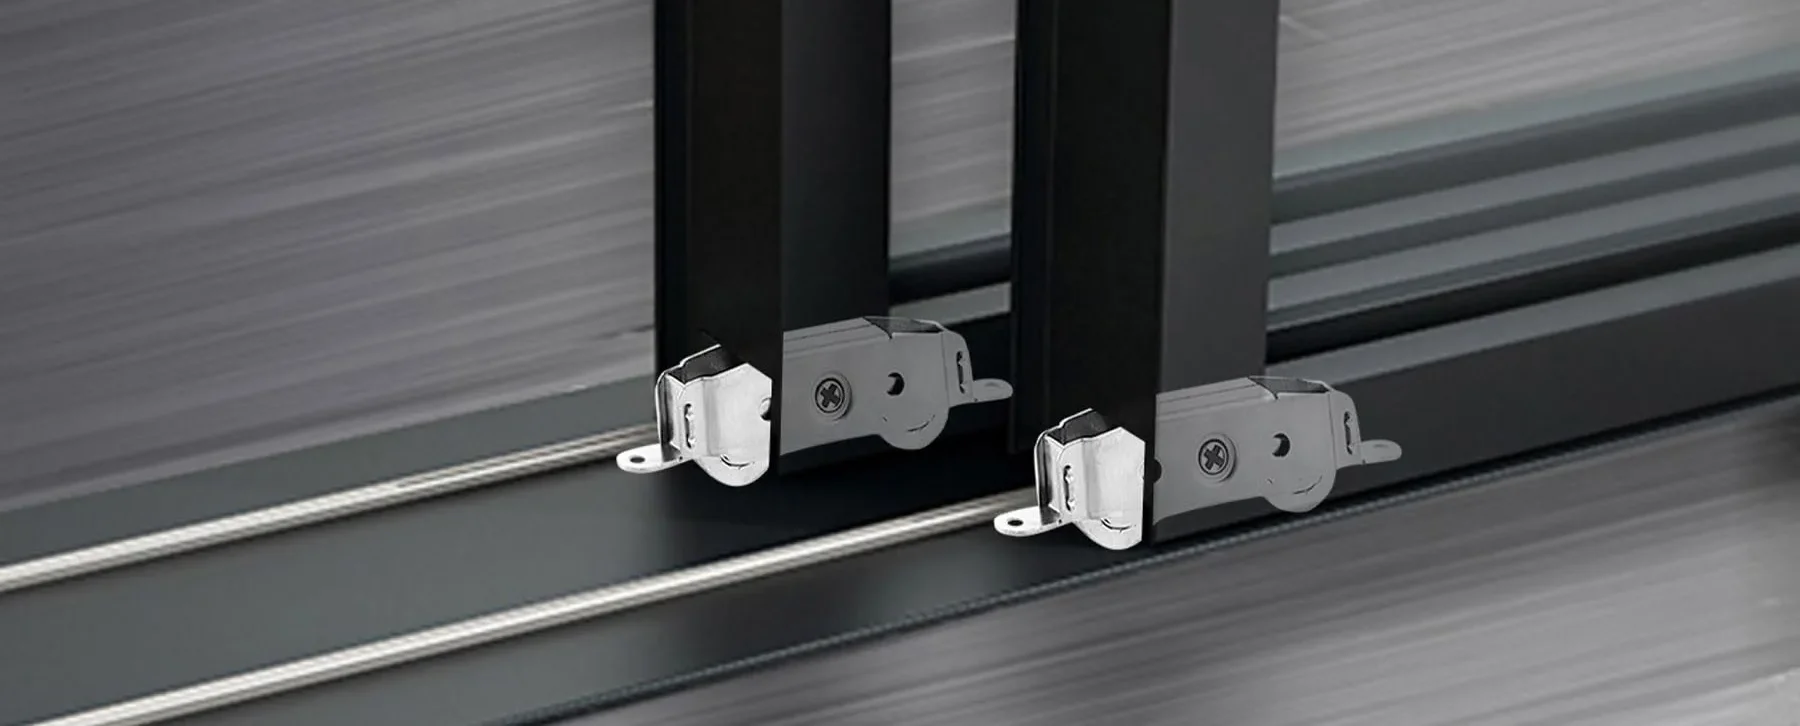
  • Rollers (if not included with the door)
  • Door handles and locks
  • Weatherstripping (optional)

Having all these tools and materials on hand means you won’t have to stop mid-project to go find something. Also, make sure to check your door kit to see if it includes all the necessary parts, like screws and track components. If it’s missing something, you’ll want to get it before you start the installation.

Remove the Old Door

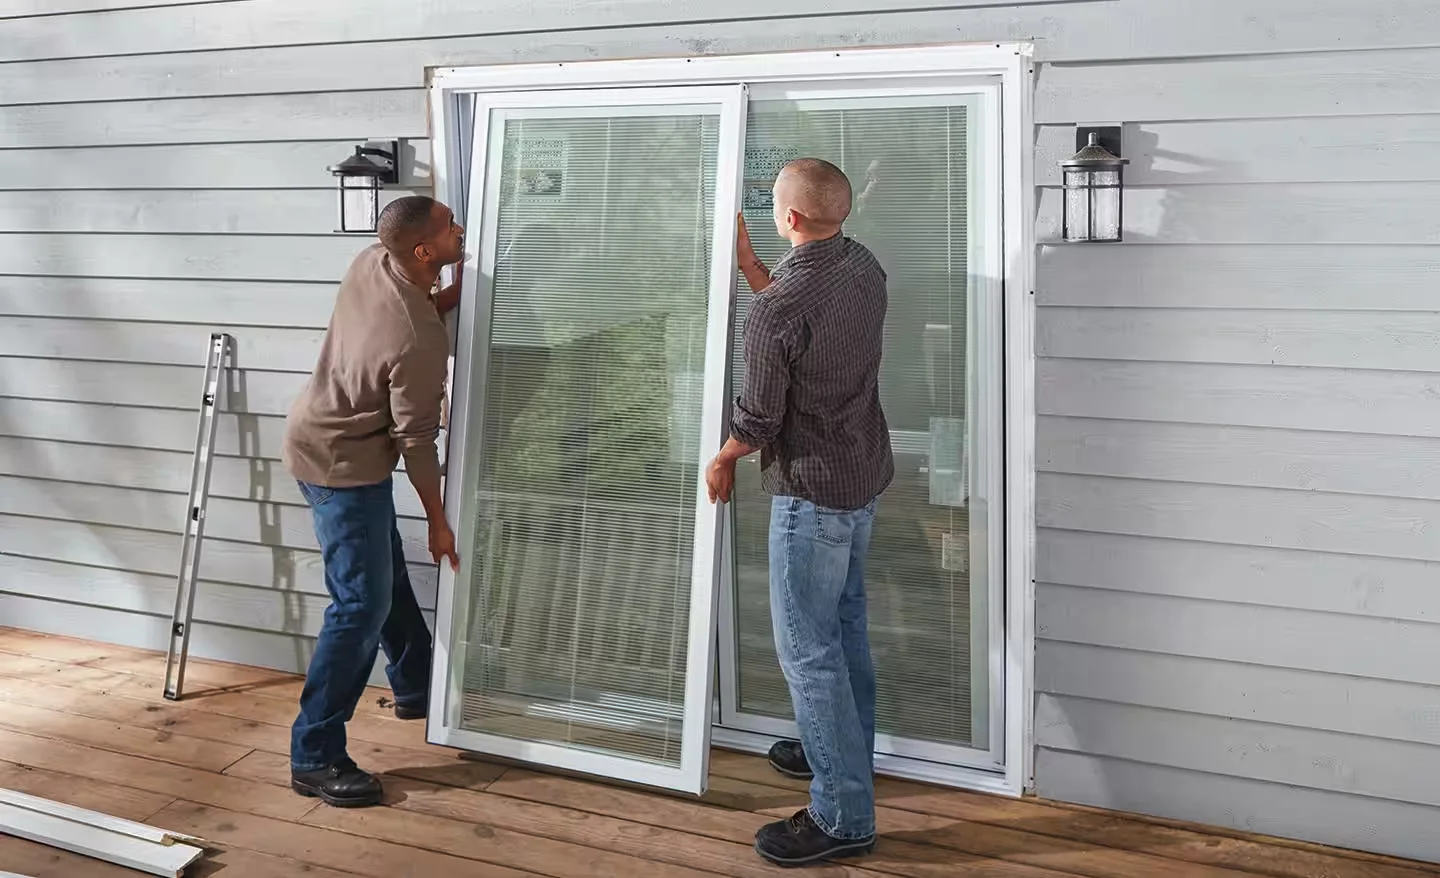
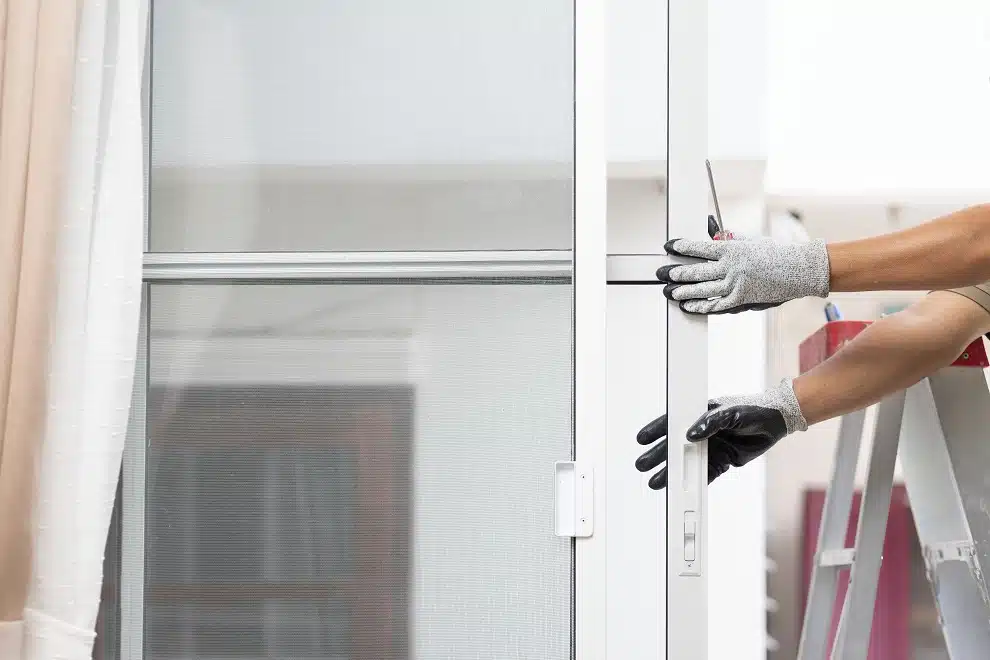
Two workers positioning an aluminum sliding door frame

If you’re replacing an existing door with an aluminum sliding door, removing the old door carefully is crucial. A clean removal will ensure a smooth fit for the new install. Here’s a quick guide to disconnecting and removing the old door and preparing the area for the new one.

Before you start with the process of disconnecting the old door, wear gloves and safety glasses if the door has glass panels.

Step 1: Remove the Door Panels
Lift the sliding panel up into the top track and tilt the bottom out. If it’s stuck, check for screws or fasteners and loosen with a screwdriver or drill. For heavy panels, get help to avoid injury.

Step 2: Remove the Stationary Panel
Next, remove the stationary panel. It may be screwed or bracketed. Use a drill to remove any fasteners, and then pull them out carefully.

Step 3: Disconnect the Frame
Remove screws or nails holding the frame in place. Check the perimeter and use a pry bar if the frame is stuck. Don’t damage surrounding walls during removal.

Step 4: Remove the Old Tracks
If separate, unscrew or unbolt the door tracks from the floor and the top of the opening. Clean as you go for the new install.

Clean the Area

Vacuuming the sliding door track for clean installation prep

Here is what you should do to make sure the area is clean before installation of the new sliding door: 

Clear Debris and Dust: Sweep or vacuum the area to keep it clean of dust and debris.

Remove Old Screws or Nails: Check the walls, floor, and ceiling for leftover screws or nails. Remove any remaining hardware with pliers or screwdrivers.

Check for Damage: Check the edges of the door opening for cracks, chips, or uneven surfaces. Caulk or putty any damage and sand rough spots smooth.

Check for Level and Square: Make sure the door opening is level and square. Small differences will cause installation issues. Use shims as needed during installation.

Installing the new doorframe

The old door and frame are out and the area is cleaned and prepared. Now, it’s time to install the new aluminum sliding door frame. 

This part requires attention to detail to make sure the frame is level, square, and secure. A properly installed frame is crucial for the door panels to slide smoothly and not to let drafts or leaks in. Follow this step-by-step to ensure a solid frame installation.

Frame into the opening

Two men installing a new aluminum sliding door frame

The first part of this process is positioning the new aluminum door frame in the door opening. Here’s how to do it:

Prepare the Frame

If your door frame comes in multiple parts (e.g. head, jambs, and sill) assemble the frame according to the manufacturer’s instructions. Most aluminum sliding door frames have pre-drilled holes for screws, so make sure you have aligned the parts correctly before screwing them.

Frame into the opening

Carefully lift the assembled frame into the door opening. It’s a good idea to have someone hold it in place to avoid damaging the frame or walls while adjusting it.

Ensure the bottom track of the frame is on the floor and the vertical jambs are on the sides of the opening. Make sure there is equal space on both sides of the frame for a centered fit.

Level the Frame

Use a spirit level to check if the frame is level and plumb (vertically straight). Place the level on the top, bottom, and sides of the frame. 

If the frame is not level use shims (small wedges) to adjust it. Place the shims between the frame and the opening to balance the frame until it’s completely level.

Make sure to check the frame from inside and outside to avoid any tilt that will affect the door’s sliding performance.

Securing the Frame

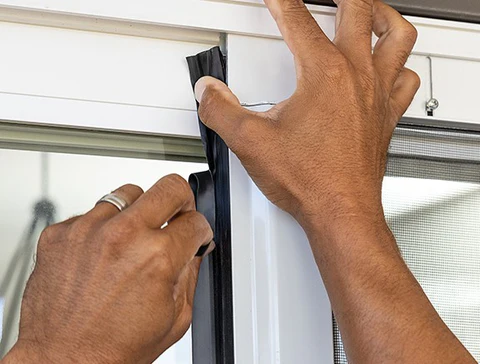
Hands trimming the frame of an aluminum sliding door

Now that the frame is in position and level, it’s time to secure it into the door opening. This part requires precision as a loose or misaligned frame will cause problems with the sliding door’s operation. Follow these instructions for a secure fit:

Drill Pilot Holes

Start by drilling pilot holes through the pre-drilled holes in the frame or the surrounding wall or surface. Pilot holes will guide the screws and reduce the risk of cracking the frame. Use a drill bit of the same size as the screws recommended by the door manufacturer.

Fasten the Frame with Screws

Once the pilot holes are drilled, insert screws into the frame to secure it in place. Tighten the screws enough to hold the frame in place but not too tight, which can distort the aluminum. 

Start by screwing the top and bottom corners, then add screws along the sides at regular intervals, usually every 12-16 inches. As you screw the frame, check that it remains level and square and make adjustments with shims if necessary.

Add Shims 

Place shims where there are gaps between the frame and the surrounding wall to ensure the frame is snug and secure. Once shims are in place, trim off the excess with a utility knife.

Weatherproofing the Frame

View of modern aluminum sliding doors installed at night

Weatherproofing your new aluminum sliding door frame is key to keeping your place warm and dry. Sealing the edges of the frame ensures your door will be energy-efficient and durable no matter what the weather is outside.


Run a continuous bead of silicone sealant along the edges of the door frame where it meets the wall or floor. Start at the top and work down so the sealant fills any gaps between the frame and the surrounding surface. This creates a watertight seal to stop air and water from entering.


Once the silicone sealant is applied, use a caulking tool to smooth it out so it’s evenly spread along the edges of the frame. Make sure the sealant fills any gaps or cracks for a strong seal.


Leave the silicone sealant to cure according to the manufacturer’s instructions. Don’t handle or install the door panels until the sealant has fully cured to avoid disturbing the seal.

Installing the Sliding Track

Workers securing aluminum sliding doors in a new construction

Now that the door frame is weatherproofed and in place, it’s time to install the sliding track system. Alignment of the tracks is critical for smooth operation. So here’s a guide to positioning and securing both the top and bottom tracks.

Positioning the Top and Bottom Tracks

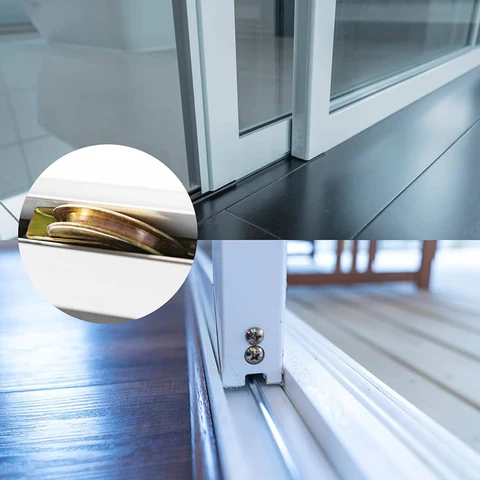
The sliding track system consists of two main parts: the top track and the bottom track. Start with the bottom track, which should sit flush with the sill.

Place it along the base of the door frame and use a spirit level to ensure it’s straight. Even a slight misalignment will cause the door to drag so use shims if the floor is uneven.

Next, install the top track, and make sure it’s aligned with the bottom track. Lift the top track into position within the frame and check its alignment with the bottom track. Both tracks must be parallel and evenly spaced to prevent tilting during operation.

Securing the Tracks to the Frame

Once in position, secure the tracks to the door frame by drilling pilot holes through the pre-drilled points in both tracks. This prevents warping when inserting screws. Tighten the screws just enough to hold the tracks without over-tightening, which can cause bowing. 

After securing a few screws, recheck the level and alignment with a spirit level. If misalignment occurs, loosen the screws slightly, adjust and retighten. Continue securing the tracks with screws at regular intervals to ensure they are firmly attached.

Smooth Operation

To ensure smooth operation, check the tracks for any debris that may have accumulated during installation. Wipe down the tracks with a clean cloth to remove dust and particles. 

If your sliding door panels are heavy, consider applying a silicone-based lubricant to reduce friction. Apply a small amount along the length of the tracks and wipe away any excess.

Before installing the door panels, do a final check of the tracks to make sure they are securely fastened, level, and clear of obstructions. Properly installed tracks are critical for a smooth sliding door and taking the time to get this step right will pay dividends in the long run.

Sliding Door Panels

Framed aluminum sliding doors during exterior construction

Inserting the sliding door panels is the most important part of the installation process, function, and look. Proper installation will make your doors slide smoothly and provide easy access. Below are the steps to insert the glass panels, attach the rollers, and test the door movement.

Inserting the Glass Panels

Once the tracks are in place, it’s time to insert the sliding door panels. Start by lifting the first sliding panel and aligning the top rollers with the top track. Tilt the bottom of the panel into the bottom track, and make sure it fits snugly and doesn’t get stuck. 

Have a helper assist with lifting the panels, especially if they are heavy or large. Handle the glass with care, wear gloves to prevent smudges, and provide a good grip. Repeat the process for the stationary panel, making sure it fits against the frame without any gaps.

Attaching the Rollers

Once both panels are in place, it’s time to install and adjust the rollers. These rollers make the sliding action smooth. Attach the rollers to the bottom of each panel according to the manufacturer’s instructions. 

Adjust the height of the rollers so the panels are level with the track. If you encounter uneven sliding or sticking, check the roller alignment and adjust as needed. Sometimes dirt or debris in the tracks can also cause problems, so make sure the tracks are clean before finalizing the adjustments.

Test the Door Movement

Now that the installation has been completed, you should test the door movement. Open and close each panel several times to check for any resistance or sticking points. If the panels don’t slide smoothly, go back to the roller adjustments or check the tracks for any obstructions. 

Make the final adjustments to the rollers and tracks so your new aluminum door will slide smoothly. Proper installation and adjustments will give you a hassle-free experience with your new sliding door.

Finishing Touches

Spacious modern patio with large aluminum sliding doors

Installing your aluminum sliding door is almost done; just a few finishing touches are needed to enhance both function and looks. These final steps will make sure your door is not only secure but also integrated with your home design.

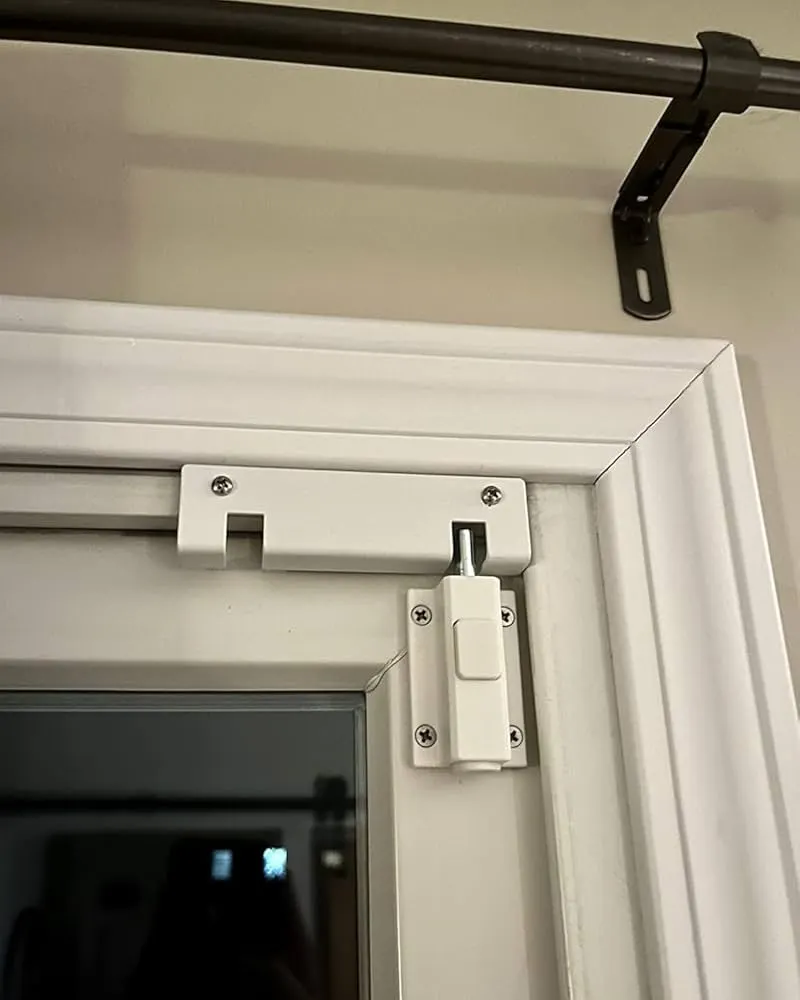
Sealing GapsFill the gaps between the door frame and the wall with high-quality caulk or weather stripping to prevent drafts and water leaks.
Installing Trim and MoldingAdd trim or molding around the door frame for a finished look to cover imperfections and overall appearance. Secure with finishing nails.
Final CleaningWipe down glass panels with glass cleaner to remove fingerprints and smudges. Clean the tracks to make sure they are free of dust and debris.
Final InspectionDo a thorough check of the installation. You should look into it that all components are secure and working properly, including the handle and lock.

These finishing touches will also improve the durability and performance of your sliding door.

Final Words

Spacious patio with large sliding glass doors and a tiled floor

Installing aluminum sliding doors makes your home functional. Follow the steps from preparation to finishing touches, and you’ll have a smooth and durable installation. Enjoy the natural light and easy access these doors will give you to your indoor and outdoor spaces. 

Ready to upgrade your home with beautiful aluminum sliding doors? Visit Gzapro for many options and expert installation services to get the look and performance you want.

Table of Contents
Like this article? Share it on:

Lasted Insights From Our Experts

A partially painted front door with taped glass panes
Blog
Tiffany

How to Paint an Aluminum Door

Discover the ultimate guide to painting aluminum doors. Learn expert tips on preparation, priming, painting, and finishing for a durable, professional finish.

Read More »
Glass doors leading from dining room to countryside patio
Blog
Tiffany

Top 10 Patio Door Manufacturers

Discover the best patio door manufacturers offering style, durability, energy efficiency, and innovation. Find the perfect patio door to transform space today!

Read More »
en_USEnglish

Request A Quote From Our Experts Today!

Please enable JavaScript in your browser to complete this form.