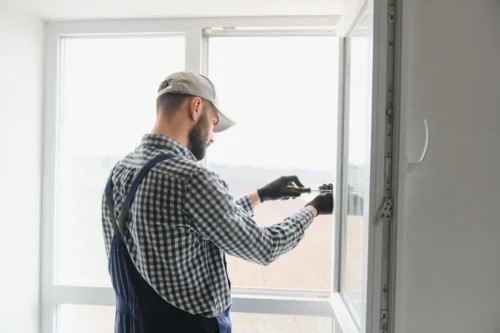
Installing a casement window may seem challenging, but by following these detailed steps, you can ensure a smooth and successful installation.
Let’s walk through the process step by step.
Step 1: Level the Window Opening with Shims

Before placing the window, ensure the sill is perfectly level.
Use a bubble level to check the sill at multiple points.
If there are any uneven areas, place shims (thin wedges) under the window frame to level it out.
This is crucial for ensuring the window operates smoothly and doesn’t get stuck or misaligned over time.
Step 2: Place the Window in the Frame

With the opening leveled, carefully lift the window into the prepared frame.
Make sure to use the nailing flange, which should be bent to a 90-degree angle if not already pre-bent.
The flange helps secure the window to the wall. Position the window so that it sits snugly in the frame without forcing it into place.
Proper alignment ensures the window can open and close without friction.
- Positioning Tip: Have a second person help hold the window to prevent shifting while you make adjustments.
- Avoiding Misalignment: Double-check the window’s alignment with a level once placed in the opening to ensure it is centered and square.
Step 3: Secure the Window with Nails

Start by securing the window from the top. Drive a nail through the nailing flange at the center of the top flange.
Continue securing the window by placing nails into every other hole along the flange, working your way downward.
Ensure the window stays level throughout the process by checking periodically with a level.
Once the window is confirmed to be level and square, nail through the remaining holes to secure the flange fully.
Step 4: Apply Additional Weatherproofing

To prevent leaks, apply an additional layer of gasket or aluminum tape over the top nailing flange and along the sides.
This creates a strong seal that protects the window from moisture and weather.
Pay special attention to the top, as water is most likely to enter through this area.
Overlap the tape slightly on each side to ensure no gaps are left exposed.
Step 5: Interior Finishing

Once the window is securely in place, move to the interior.
Begin by installing the casing (the decorative frame) around the window.
Fill any gaps between the window frame and the wall with fiberglass insulation to improve energy efficiency and prevent drafts.
Install the window hardware, such as cranks, hinges, and locks, making sure everything operates smoothly.
Step 6: Final Touches

Finish the installation by applying exterior trim around the window to complete the look and protect the edges.
Use high-quality caulk to seal any remaining gaps between the window and the wall, particularly around the edges of the trim and the frame.
This prevents water infiltration and adds another layer of weatherproofing.
Finally, paint or finish the trim and casing as needed to match the rest of the home.


