Entfernen Glasschiebetüren Es mag wie eine große Aufgabe erscheinen, aber manchmal ist es der einzige Weg, Dinge zu erledigen – egal ob Sie Transportieren großer Möbelstücke, Austausch einer defekten Platte, oder ein Upgrade auf ein besseres energieeffizientes Modell. Diese Türen können viel Platz beanspruchen und mit der Zeit verschleißen, sodass ihre Entfernung sowohl aus funktionalen als auch aus ästhetischen Gründen notwendig ist.

Die gute Nachricht? Mit dem die richtigen Werkzeuge, Mit ein wenig Geduld und einem soliden Plan kann dies gelingen. DIY-freundliches Projekt. Sicherheit hat oberste Priorität. Die Paneele sind schwerer (und zerbrechlicher) als sie aussehen – daher ist es wichtig, die richtigen Schritte zu lernen, um Unfälle und Beschädigungen zu vermeiden. Dieser Leitfaden führt Sie durch alles, was Sie wissen müssen, um die Arbeit sicher und effizient zu erledigen.
Gründe für den Ausbau einer Glasschiebetür
#Move sperrig Möbel oder Haushaltsgeräte mit Leichtigkeit
#Zugriff und ersetzen beschädigte Rollen oder Beschläge
#Komplettes Haus Renovierungen oder Modernisierungen
#Austauschen alte oder kaputte Türen
#Boost Isolierung und die Gesamtverbesserung Türeffizienz
Benötigte Werkzeuge und Materialien
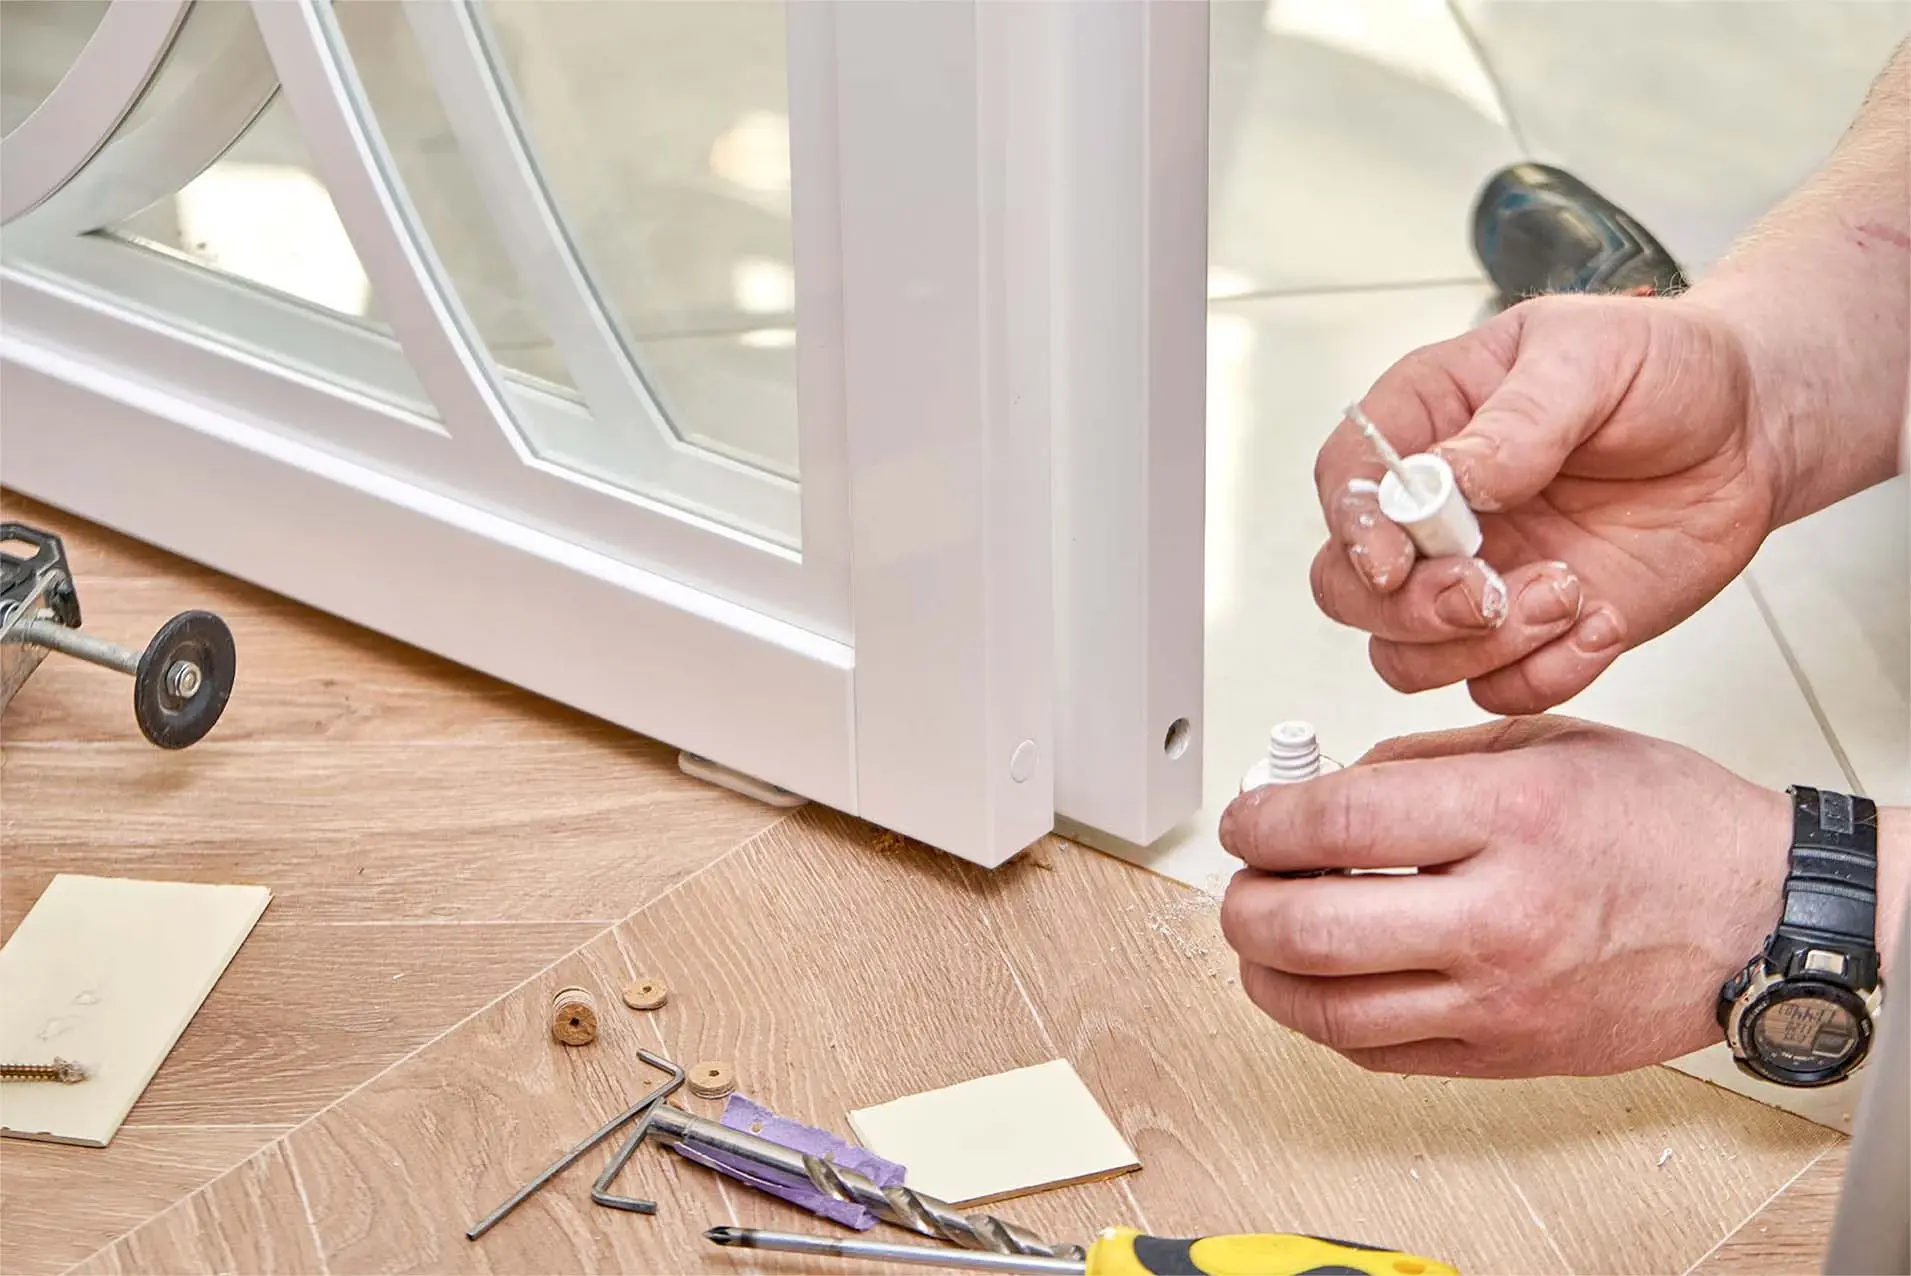
Schlitz- und Kreuzschlitzschraubendreher – für Schrauben und Einstellungen
Universalmesser – um Dichtungsmasse oder Glaserband durchzuschneiden
Brecheisen oder Spachtel – hilft beim sicheren Anheben von festen Paneelen
Schutzhandschuhe und Schutzbrille – Hände und Augen schützen
Schaumstoffplatten oder dicke Decke – gepolsterte Glaspaneele
Saugnapf (optional) – für besseren Halt auf Glas
Bohrer und Meißel – zum Entfernen der festen Paneelschrauben
Dichtungsentferner – macht Dichtstoffe weicher, um deren Entfernung zu erleichtern
Bandmaß – praktisch, wenn Sie eine Neuinstallation planen
Schritt für Schritt: So entfernen Sie eine Glasschiebetür
Das Entfernen einer Glasschiebetür mag knifflig erscheinen, aber mit der richtigen Vorgehensweise ist es ein sicheres und machbares Heimwerkerprojekt.
Befolgen Sie diese Schritte sorgfältig und lassen Sie sich Zeit – insbesondere beim Umgang mit schweren oder zerbrechlichen Teilen.
1. Bereich freiräumen
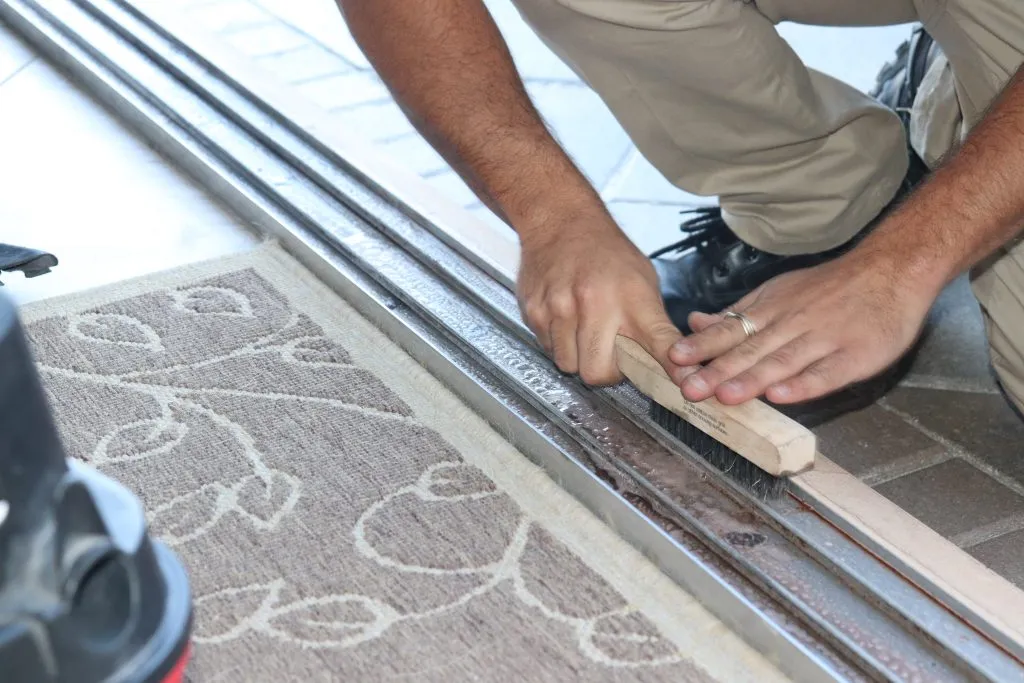
Räumen Sie nahegelegene Möbel, Vorhänge und Dekorationen beiseite. Legen Sie Schaumstoffplatten oder Decken auf dem Boden, um sowohl das Glas als auch Ihren Bodenbelag zu schützen.
2. Entfernen Sie die Fliegengittertür (falls vorhanden).
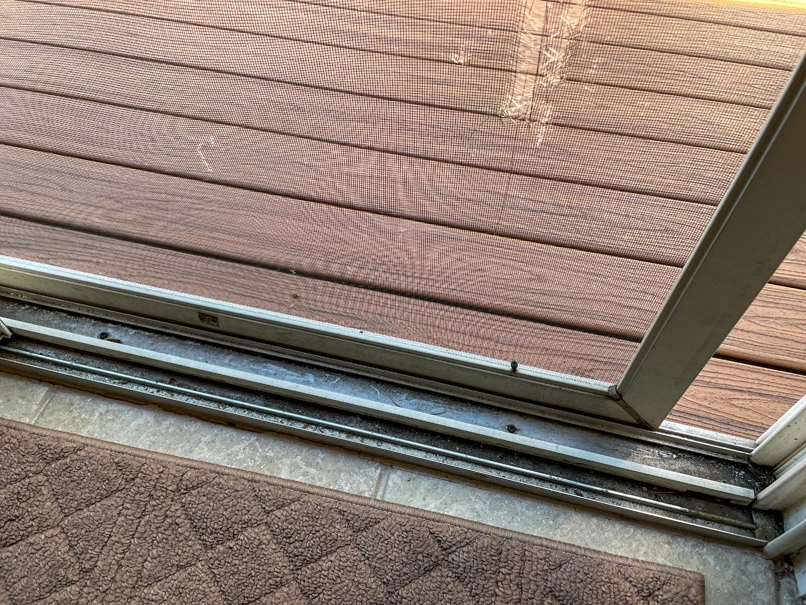
Heben Sie den Bildschirm vorsichtig mit einem Schlitzschraubendreher und legte es beiseite.
3. Rollen einstellen
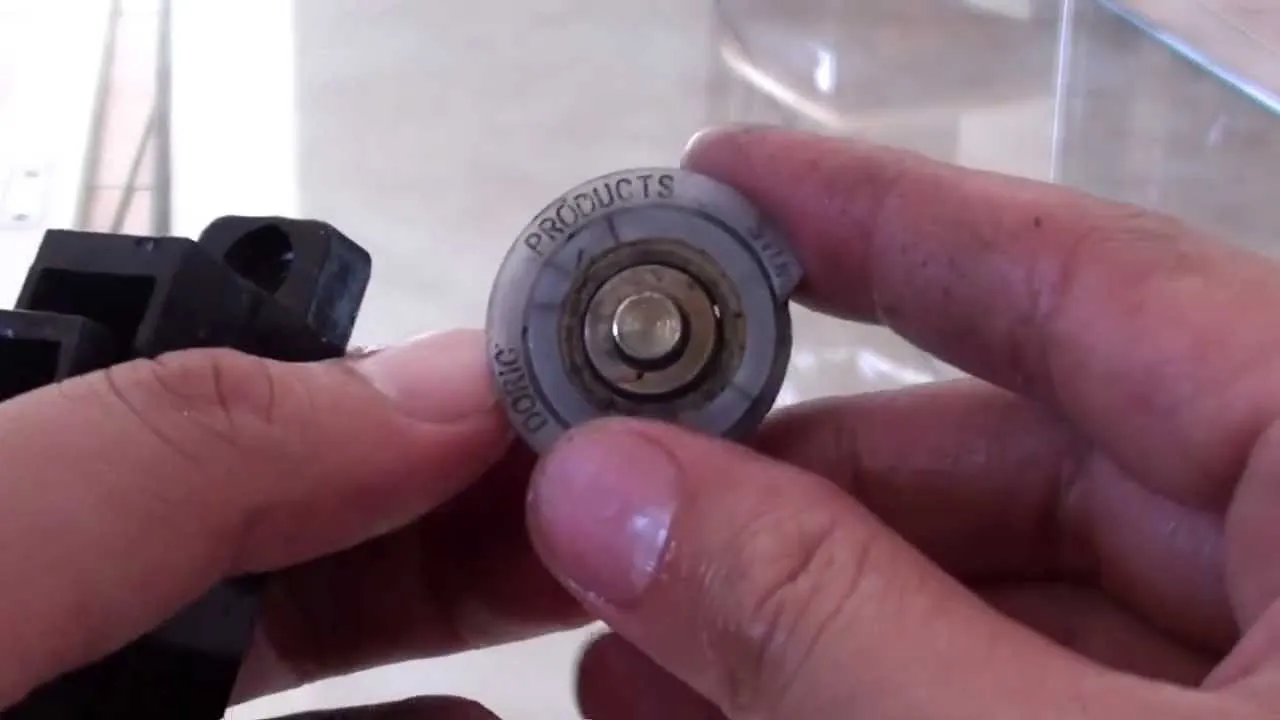
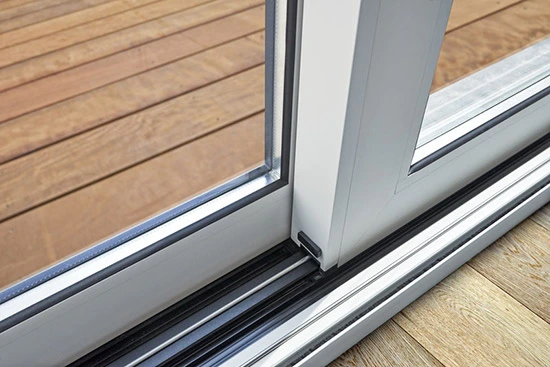
Suchen Sie die Walzeneinstellschrauben nahe dem unteren Ende der Schiebetür. Drehen Sie sie im Uhrzeigersinn Die Rollen anheben – dadurch lässt sich die Tür leichter aus der Schiene lösen.
4. Schiebetürpaneel entfernen.
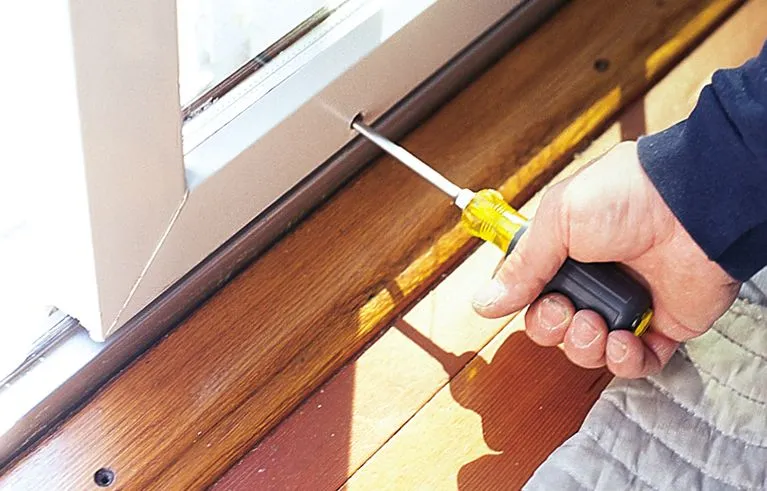
Schieben Sie die Tür auf, Heben Sie es in die oberste Schiene., und dann Ziehen Sie den Boden heraus in Ihre Richtung. Wenn es schwer ist, verwenden Sie einen Saugnapf oder um Hilfe bitten.
5. Dichtungsmasse durchtrennen (falls erforderlich)
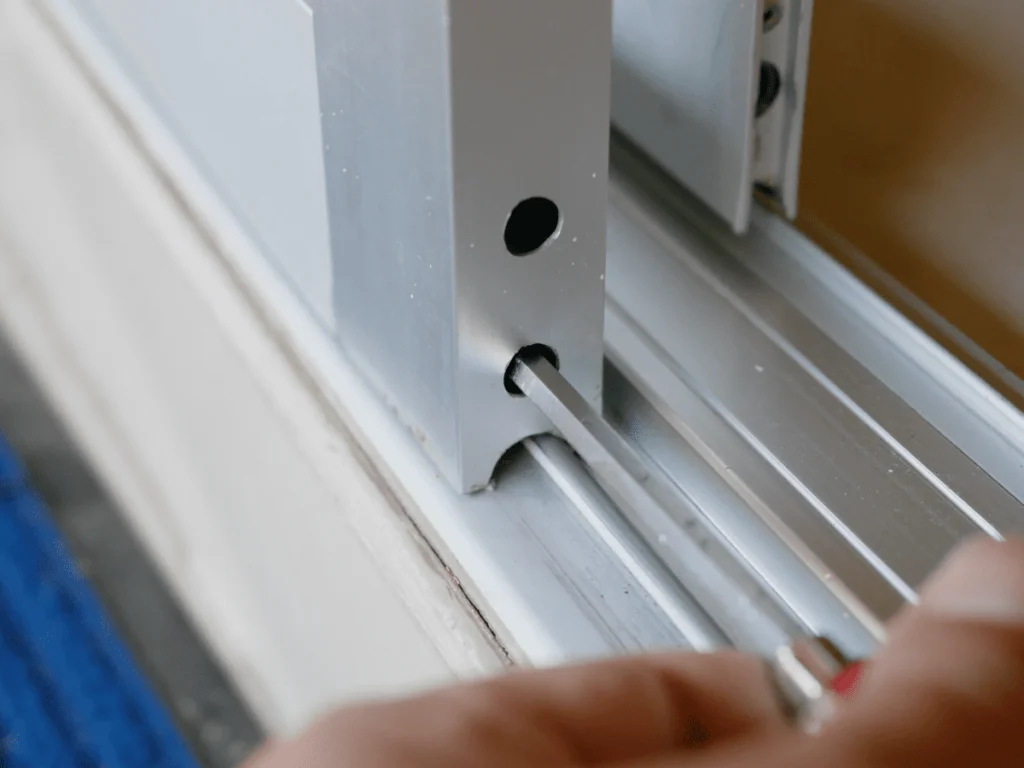
Verwenden Sie ein Universalmesser oder Dichtungsentferner um die feste Platte oder Verkleidung herum, falls diese abgedichtet ist.
6. Entfernen Sie die feste Abdeckung.
Suchen Sie entlang des Rahmens nach Schrauben oder Befestigungselementen. Verwenden Sie ein bohren Um sie zu entfernen, hebeln Sie sie dann vorsichtig mit einem Spachtel oder Brecheisen. Hebeln Sie das Paneel langsam aus der Schiene.
7. Rahmen reinigen und überprüfen
Sobald beide Paneele ausgebaut sind, nehmen Sie sich einen Moment Zeit, Saugen Sie die Gleise ab und prüfen Sie auf Verschleiß, Beschädigungen oder Ausrichtungsprobleme. Saubere Oberflächen mit milder Seife und Wasser.
8. Die Öffnung sichern (falls erforderlich)
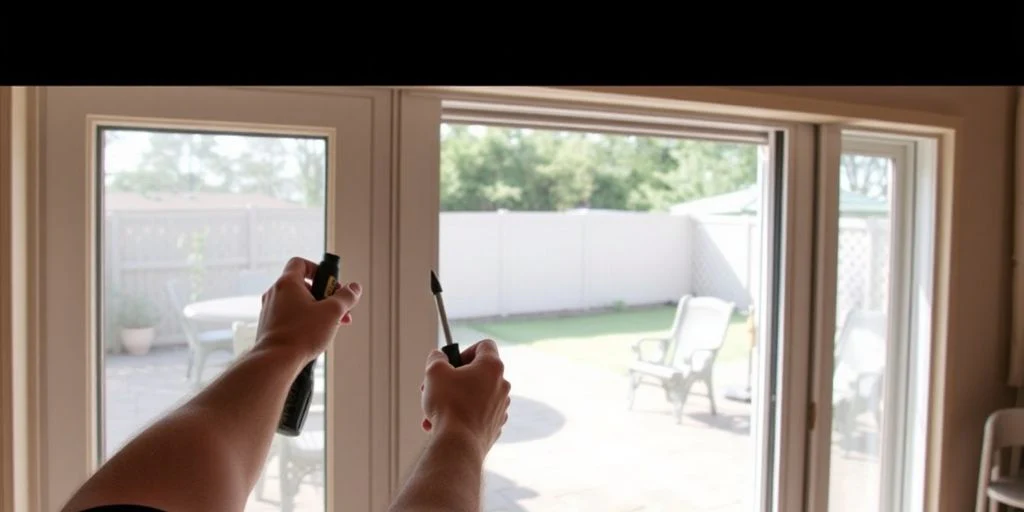
Wenn Sie die Tür nicht sofort austauschen, Die Öffnung mit Sperrholz oder einer Barriere abdecken. aus Sicherheits- und Isolierungsgründen.
FAQs
1. Wie lange dauert es?
Normalerweise etwa 1 bis 2 Stunden, abhängig von der Art der Tür und der Anzahl der Teile (wie z. B. des Rahmens oder der festen Füllung), die entfernt werden müssen.
2. Was tun mit alten Glasscheiben?
Wenn das Glas unbeschädigt ist, Spenden oder recyceln Ansonsten wenden Sie sich bitte an Ihren Arzt. örtliches Recyclingzentrum oder ein beauftragtes Unternehmen zur sicheren Entsorgung.
Abschluss
Der Ausbau einer Glasschiebetür ist mit dem richtigen Werkzeug, den nötigen Sicherheitsvorkehrungen und etwas Hilfe gut zu bewältigen. Ob Sie Ihre Räume modernisieren oder verschlissene Teile reparieren möchten – eine klare Anleitung sorgt für einen reibungslosen Ablauf und schützt sowohl Ihr Zuhause als auch die Tür.
Bereit für Ihr nächstes Heimwerkerprojekt? Mit dieser Anleitung können Sie die Demontage von Schiebetüren souverän angehen – oder Wenden Sie sich an einen Fachmann Wenn Sie lieber Fachleute beauftragen möchten. In jedem Fall sorgt eine fachgerechte Entfernung für bessere Funktion und ein ansprechenderes Design.
Verwandte Artikel
Leitfaden für Aluminium- und Vinyl-Schiebetüren
So reinigen Sie Schiebetürschienen: Einfache Schritte
10+ beste Marken für Glasschiebetüren
Größen für Aluminium-Schiebetüren: Ein vollständiger Leitfaden


